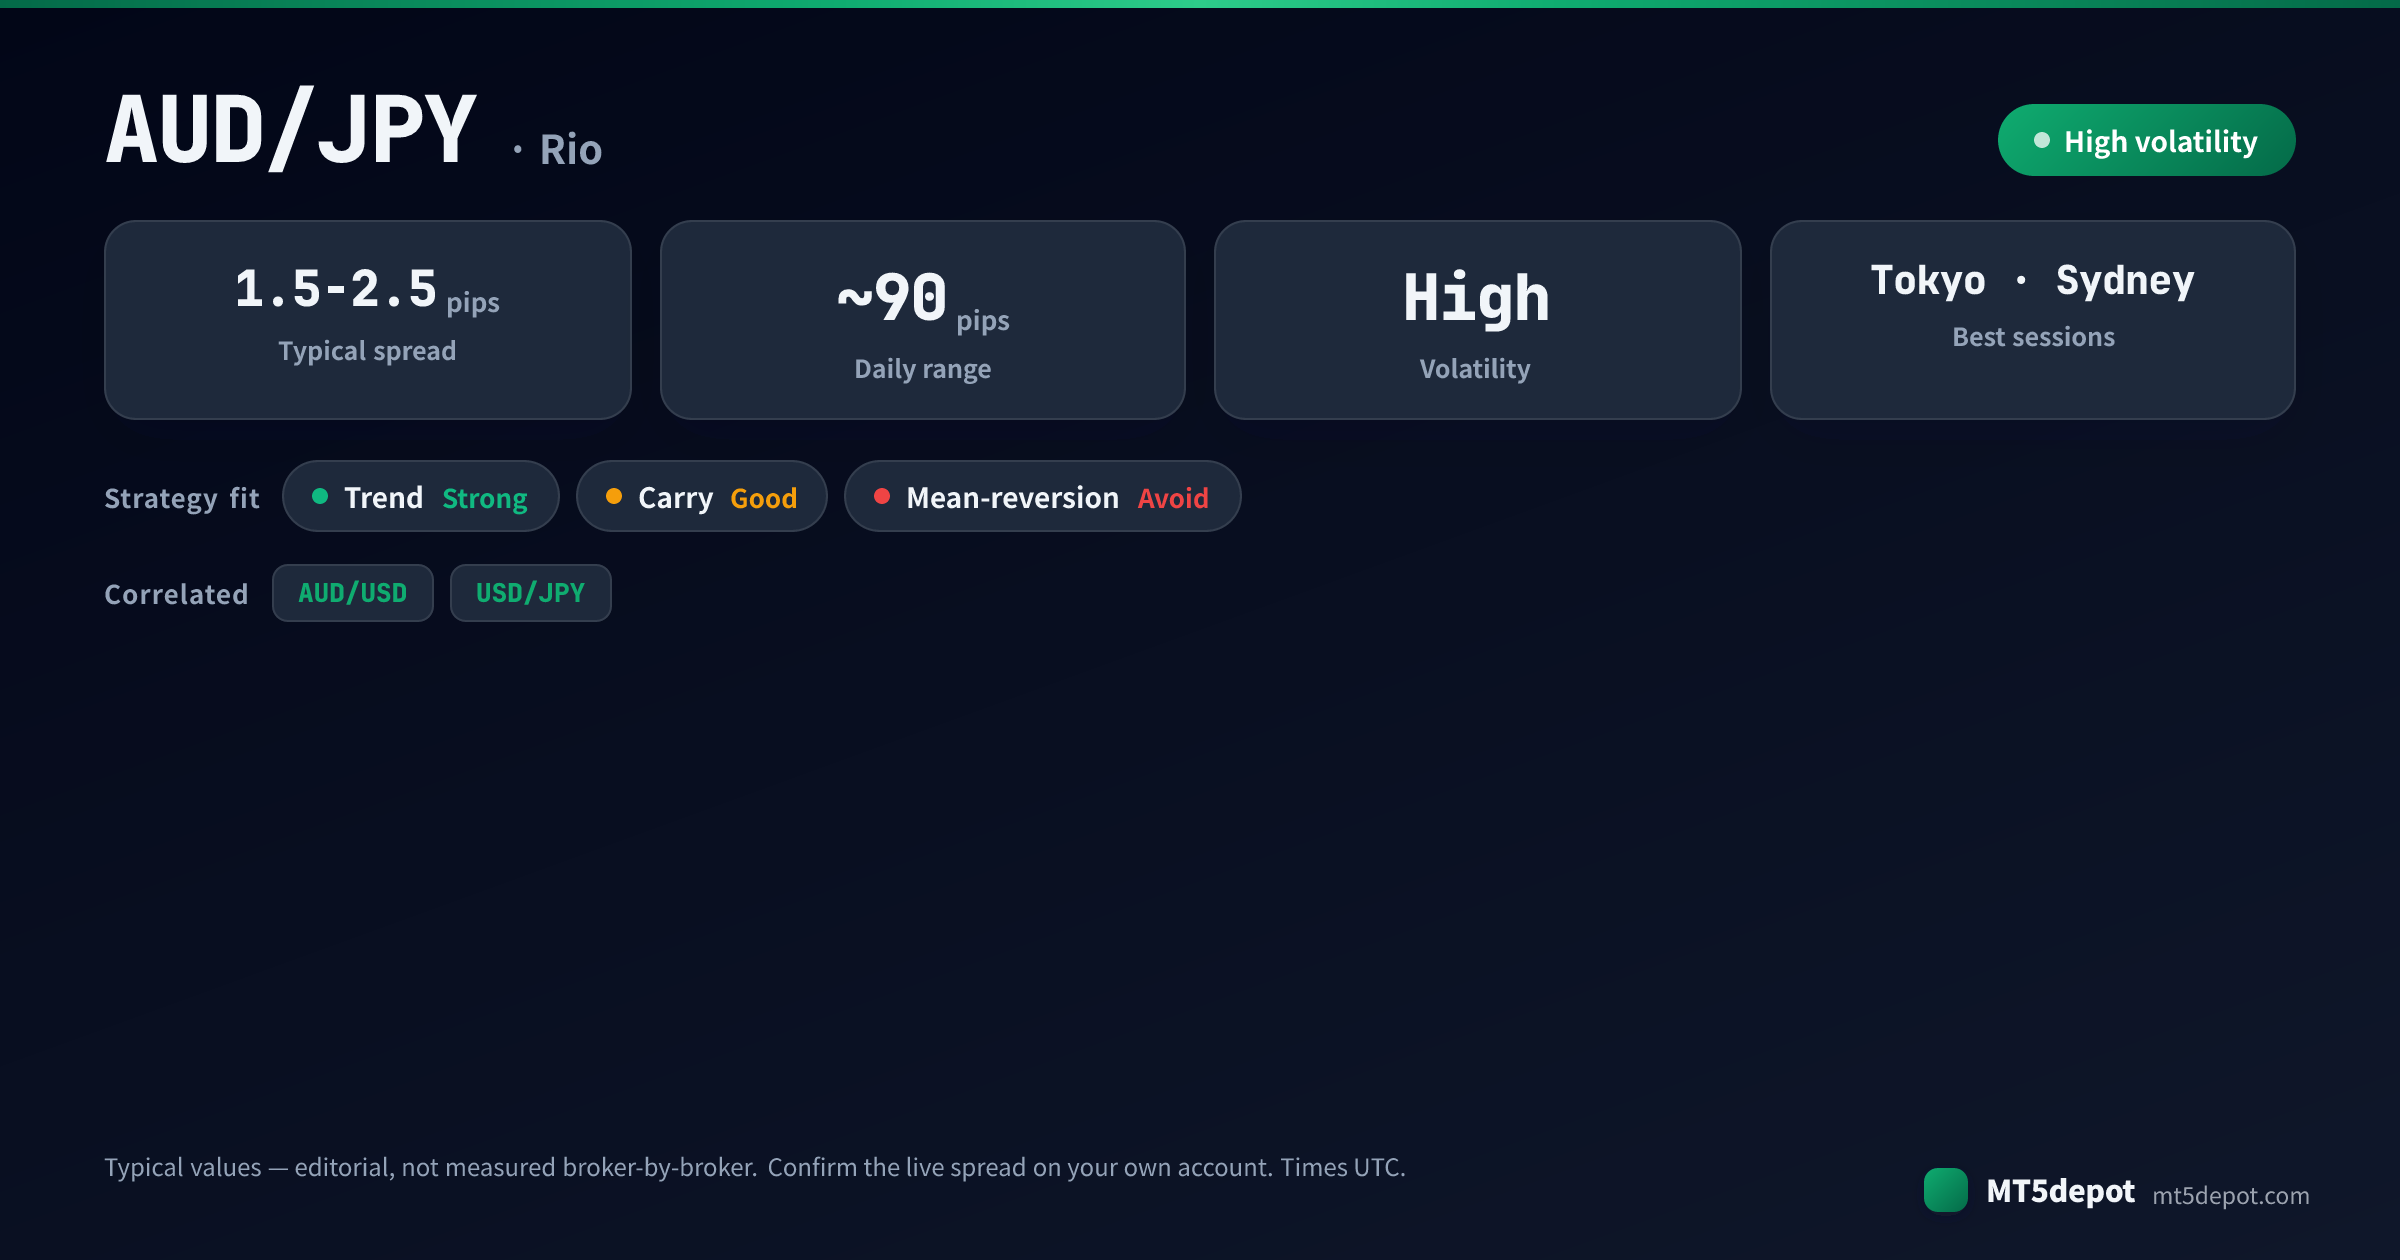
AUD/JPY — traders call it “Rio” — is the market’s purest risk-on/risk-off proxy: a carry cross that tracks global equities so closely it often trades like a leveraged S&P position wearing a currency-pair label. That single fact decides everything for an automated strategy. The first question is not which indicator to bolt on, but whether your system wants to be long global risk appetite with leverage or merely tolerates being dragged around by it. On Rio, an EA that ignores the equity tape is trading half the picture whether it knows it or not.
This page covers what AUD/JPY gives an automated strategy that a plain major does not, the Asia-Pacific sessions that shape its results, and what it costs. It then covers the failure modes that catch systems ported from calmer pairs, and how to build and test an AUD/JPY EA of your own.
How AUD/JPY Behaves: What Rio Gives an EA
AUD/JPY nicknamed “Rio” pairs a commodity-linked, high-yield currency against the classic safe-haven yen, and that combination gives it a character no plain major shares. For an EA, that character reduces to three properties:
- It is a risk-sentiment instrument first, a currency pair second. AUD/JPY moves with global equity futures — when the S&P is bid the cross climbs, when equities crash the yen is bought and the cross falls. This is a widely-documented structural feature, cited here as typical behaviour rather than a live measurement. It means a quiet FX calendar is not a quiet AUD/JPY: an equity shock with no forex catalyst at all can still be the biggest move of your EA’s week.
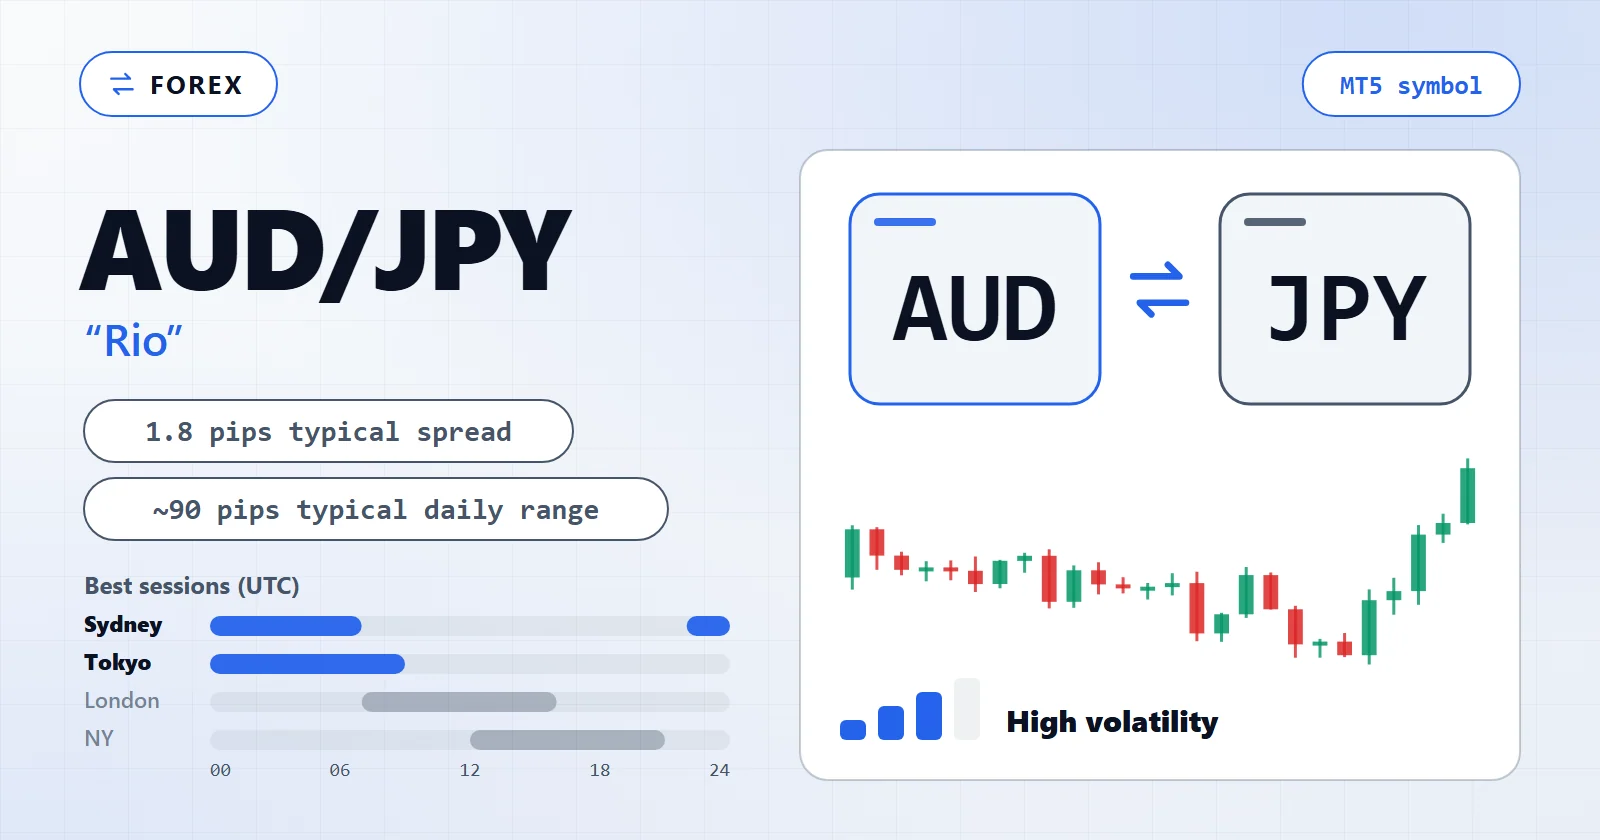
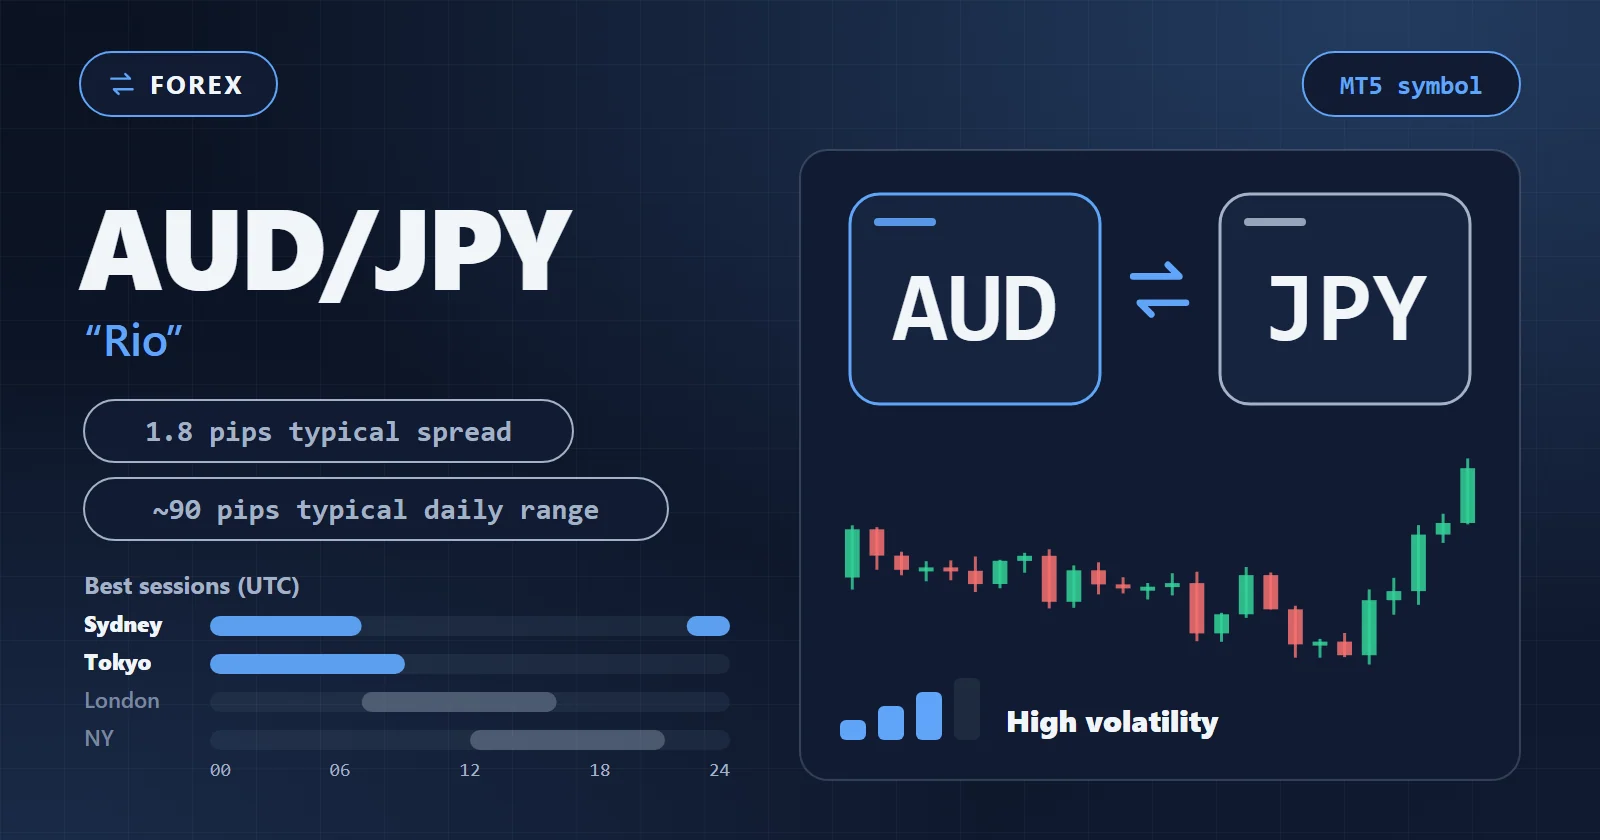
- A live Asia-Pacific range. Unlike the majors that go quiet overnight, Rio’s most genuine action lands in the Sydney and Tokyo hours, driven by Australian data and the Asian risk tone. Our published typical daily range is near 90 pips — labelled typical, not measured broker-by-broker. That gives trend and breakout systems room to work while the London crowd is still asleep.
- Twin central-bank catalysts. The pair carries two rate-setting authorities, the RBA on the base and the BoJ on the quote. When RBA and BoJ events land near each other they amplify the range rather than cancel out, so Rio can post an outsized session with no single obvious headline behind it.
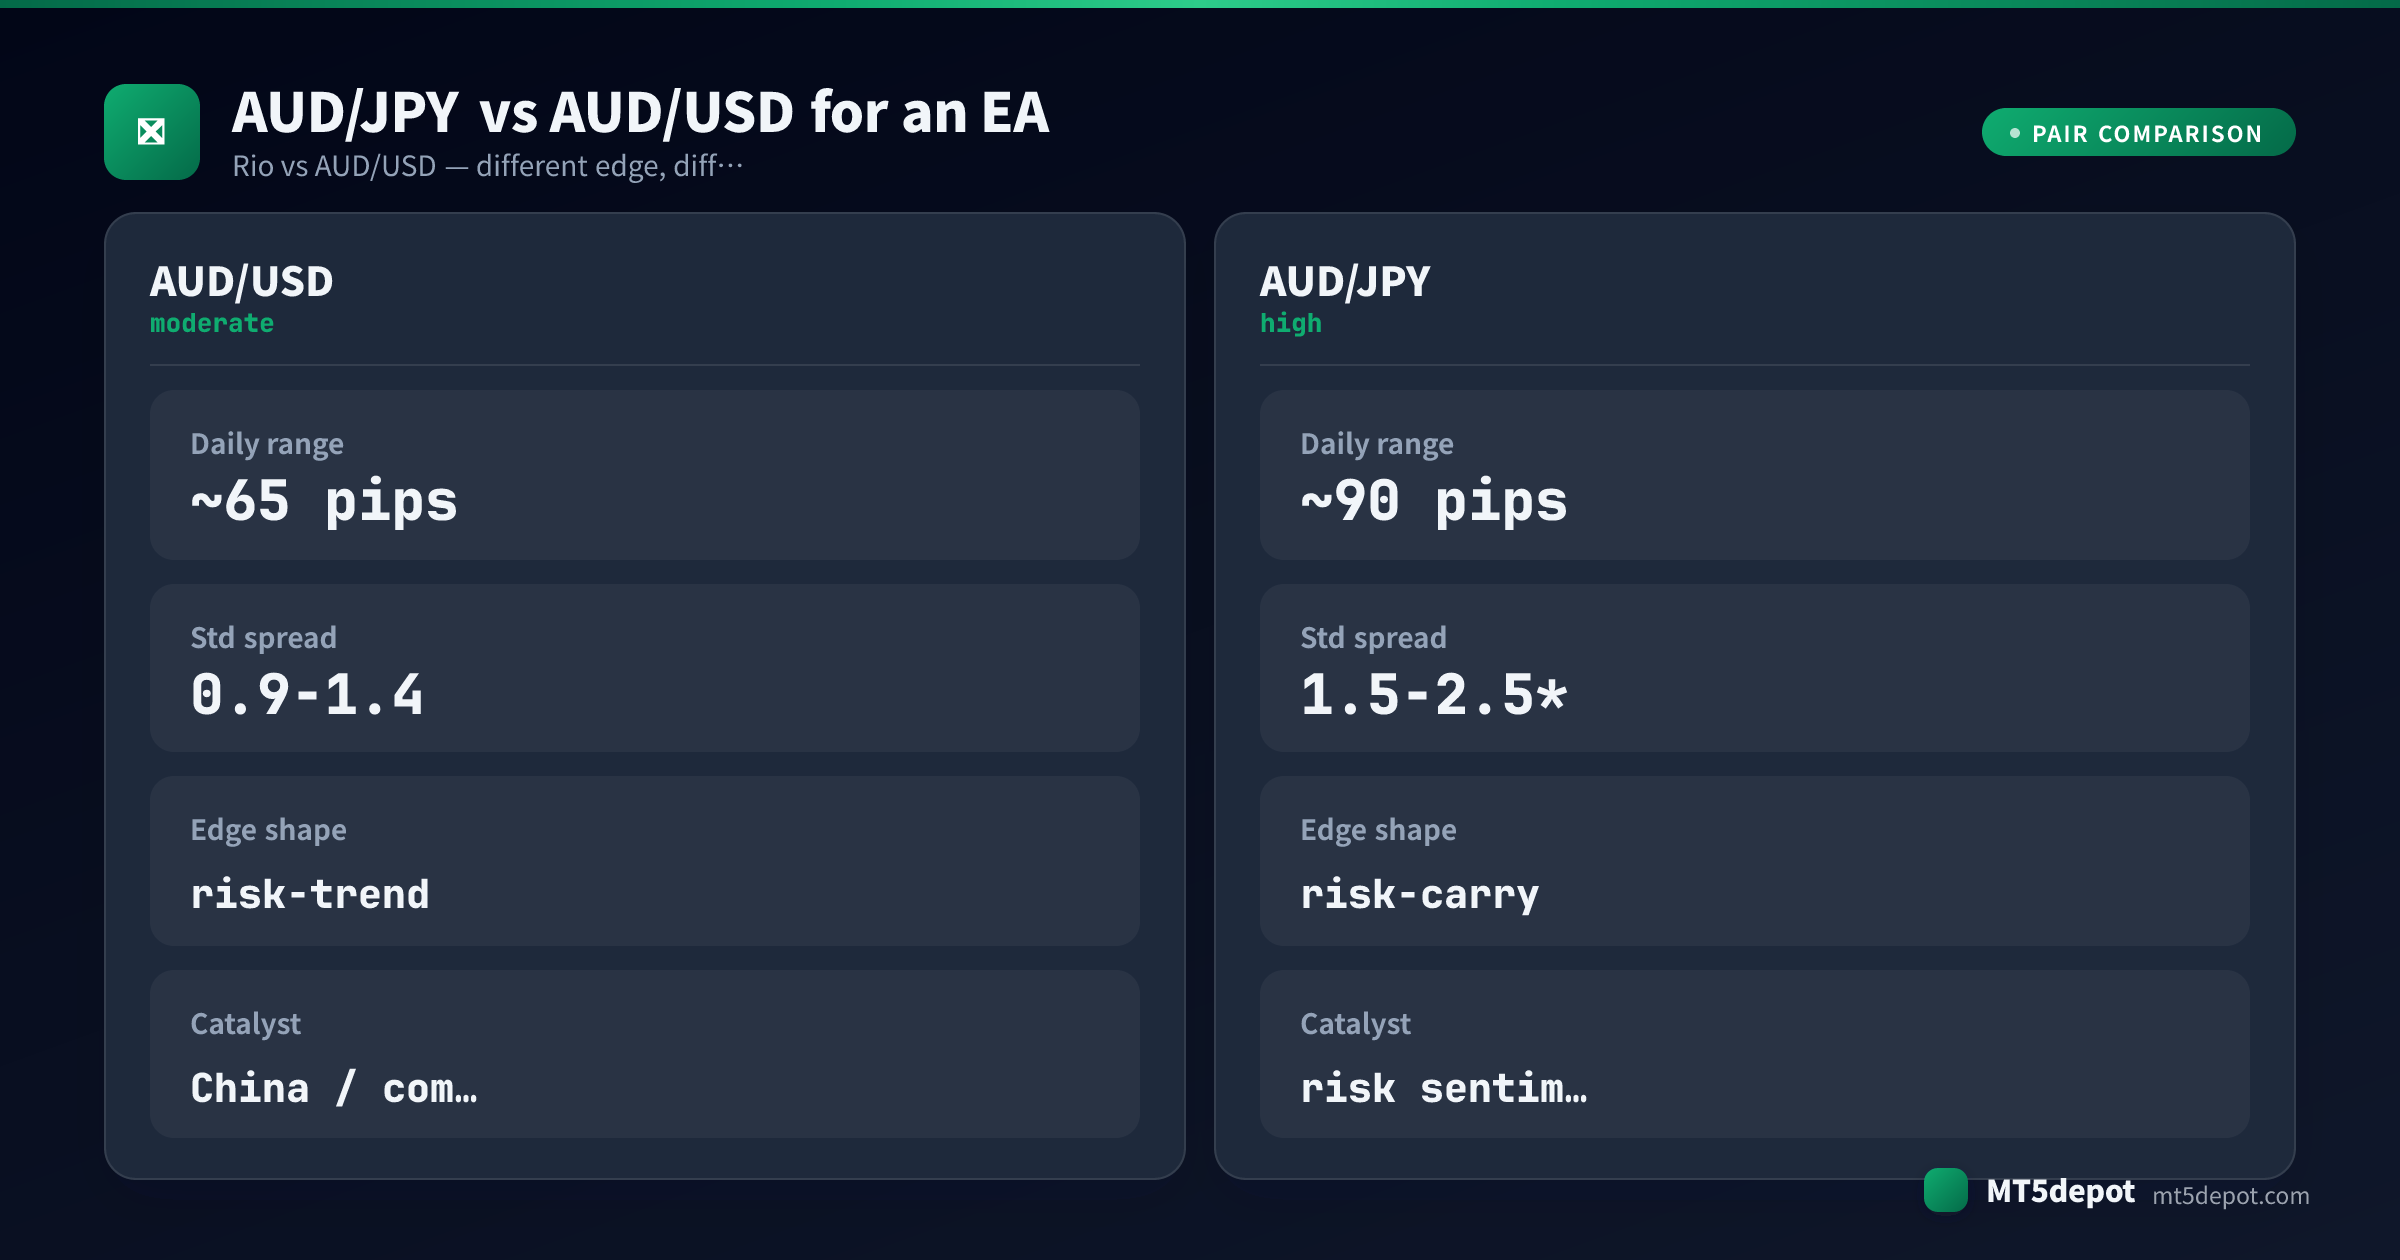
The trap for automated strategies is the carry. A positive-swap long on AUD/JPY looks like free money on a backtest of a calm regime: the equity curve drifts up on nothing but the interest differential. That holds right up until the risk turn arrives and unwinds the position faster than any fixed stop plan was built to handle. Rio pays you a small, steady premium for holding the risk everyone else is happy to shed, and then charges the whole premium back in a single session. A backtest that never spans an equity-market shock has not tested the one thing that defines this pair.
Which EA Strategies Suit AUD/JPY?
The pair’s profile lists trend and breakout as suitable, but suitability is not proof. In our editorial assessment, the strategy has to earn its keep through mechanics that respect Rio’s risk-driven character, not through the indicator on the box. One popular shape here is a trap dressed as an edge. What the pair’s character supports:
| Strategy | Fit on AUD/JPY | Why |
|---|---|---|
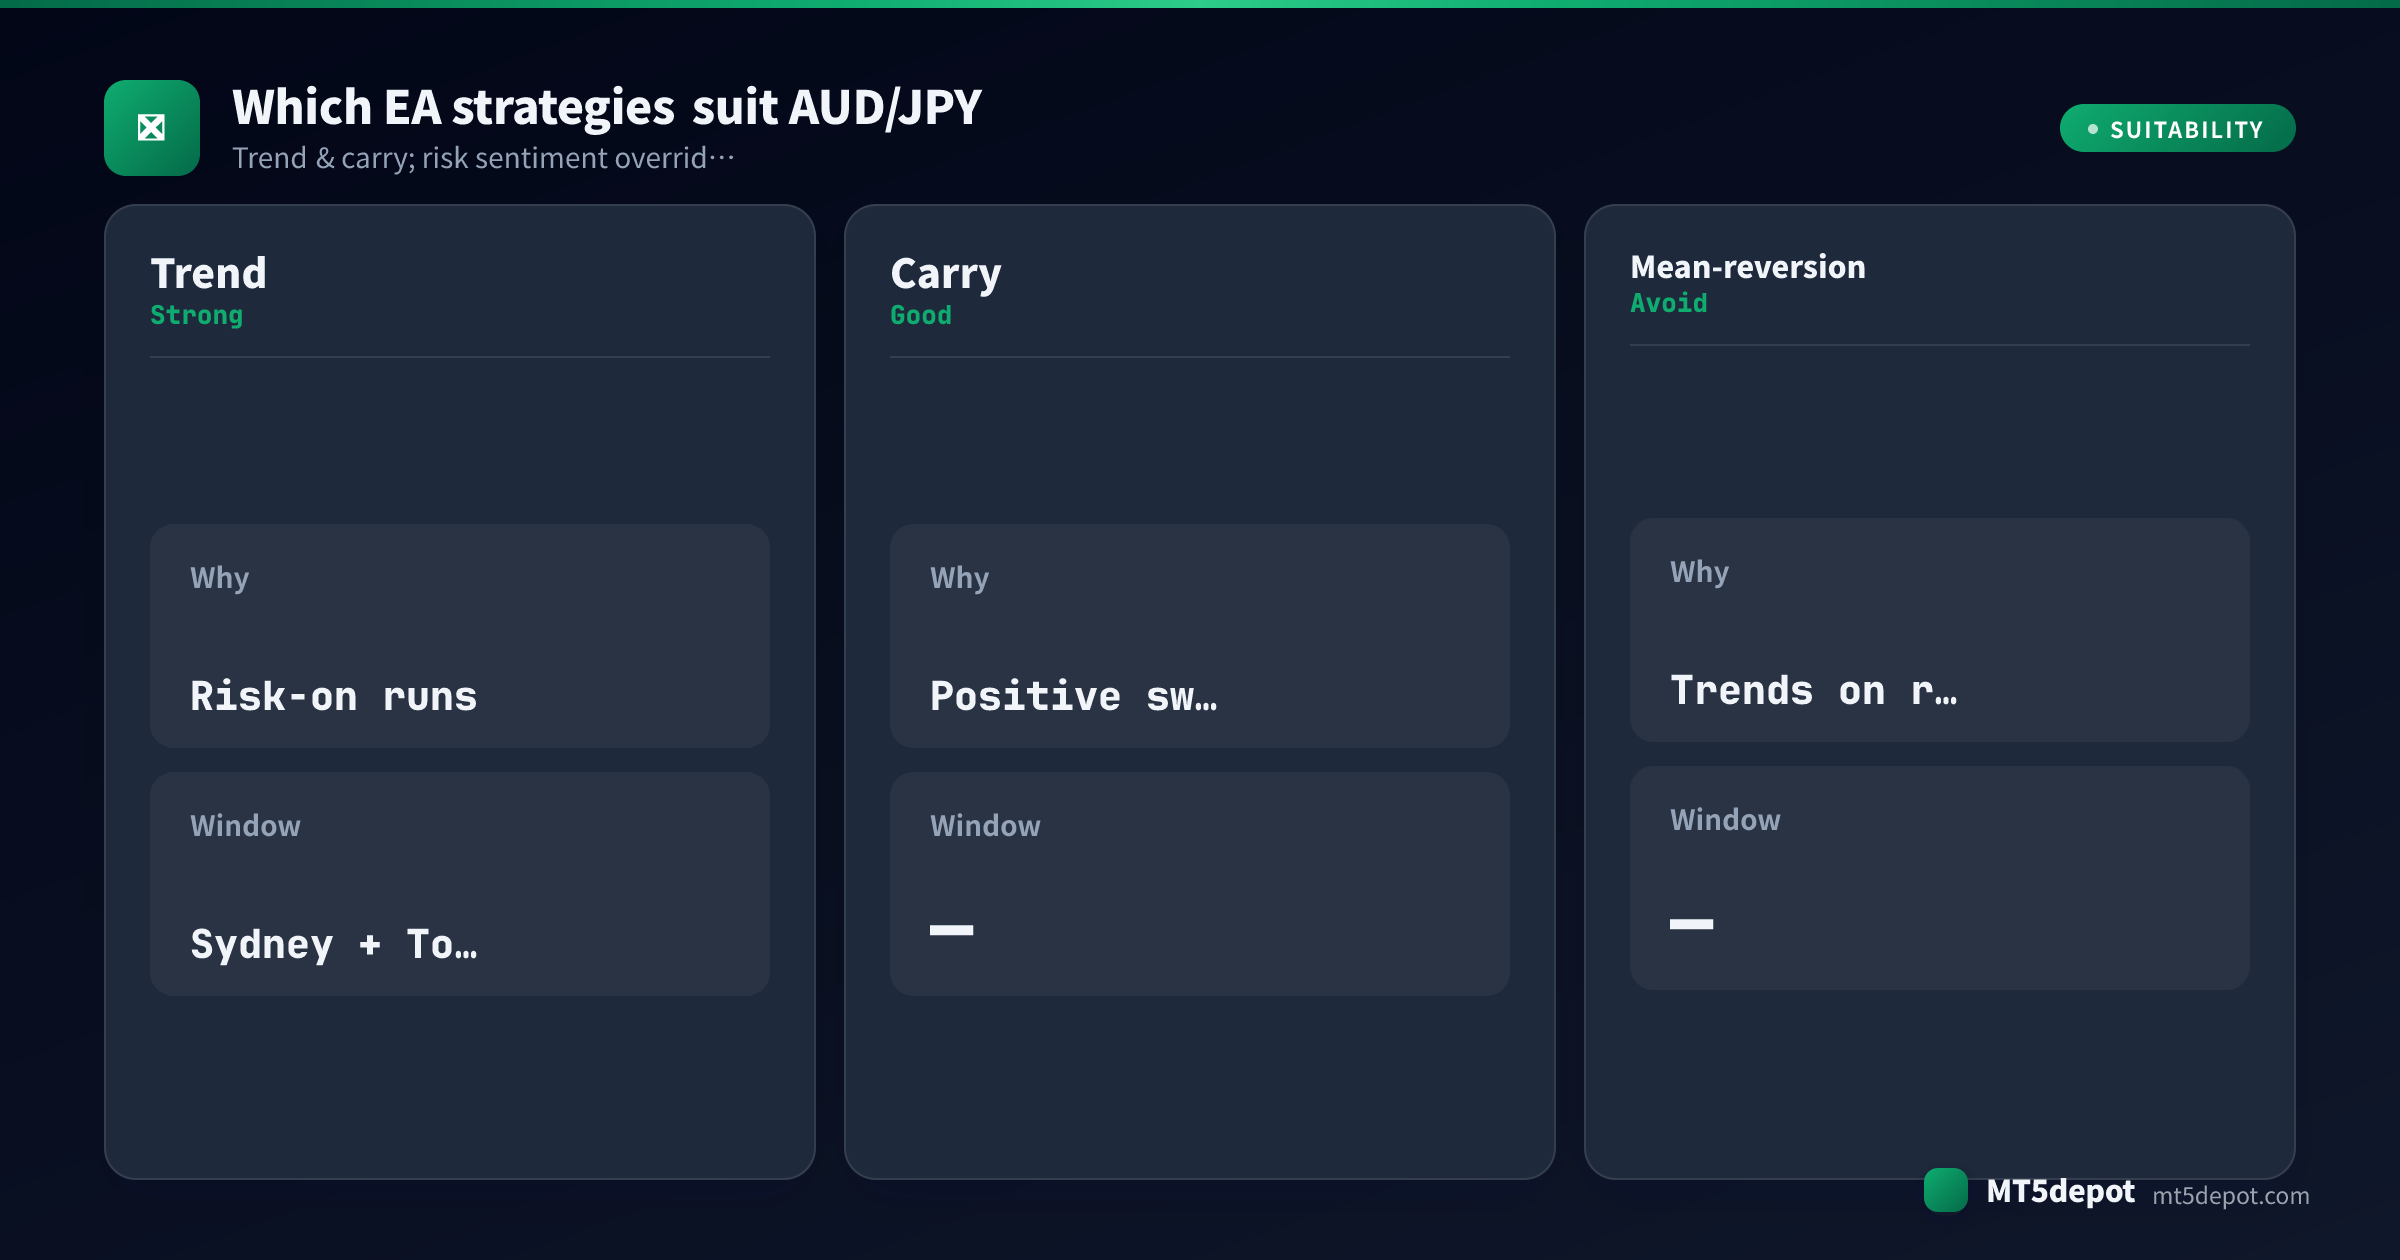
| Trend-following | Strong | Risk-on runs produce sustained directional moves, and the live Sydney-plus-Tokyo window gives a trend EA clean expansion to ride while the majors are flat. |
| Carry (positive-swap long) | Good, with a caveat | The long earns a positive swap most nights, which flatters slow systems. Treat the carry as a bonus on a trade you would take anyway — never as the reason to hold, because the unwind is the whole risk. |
| Breakout (pending orders) | Workable | The Asia-session range gives an objective level, and pending-order entries at the edge are less spread-sensitive than market fills — which matters on a wider-spread cross. |
| Mean-reversion | Avoid | Rio trends on risk sentiment; fading a risk-on run or a risk-off cliff means selling into a move driven by the entire equity complex, not a stretched oscillator. |
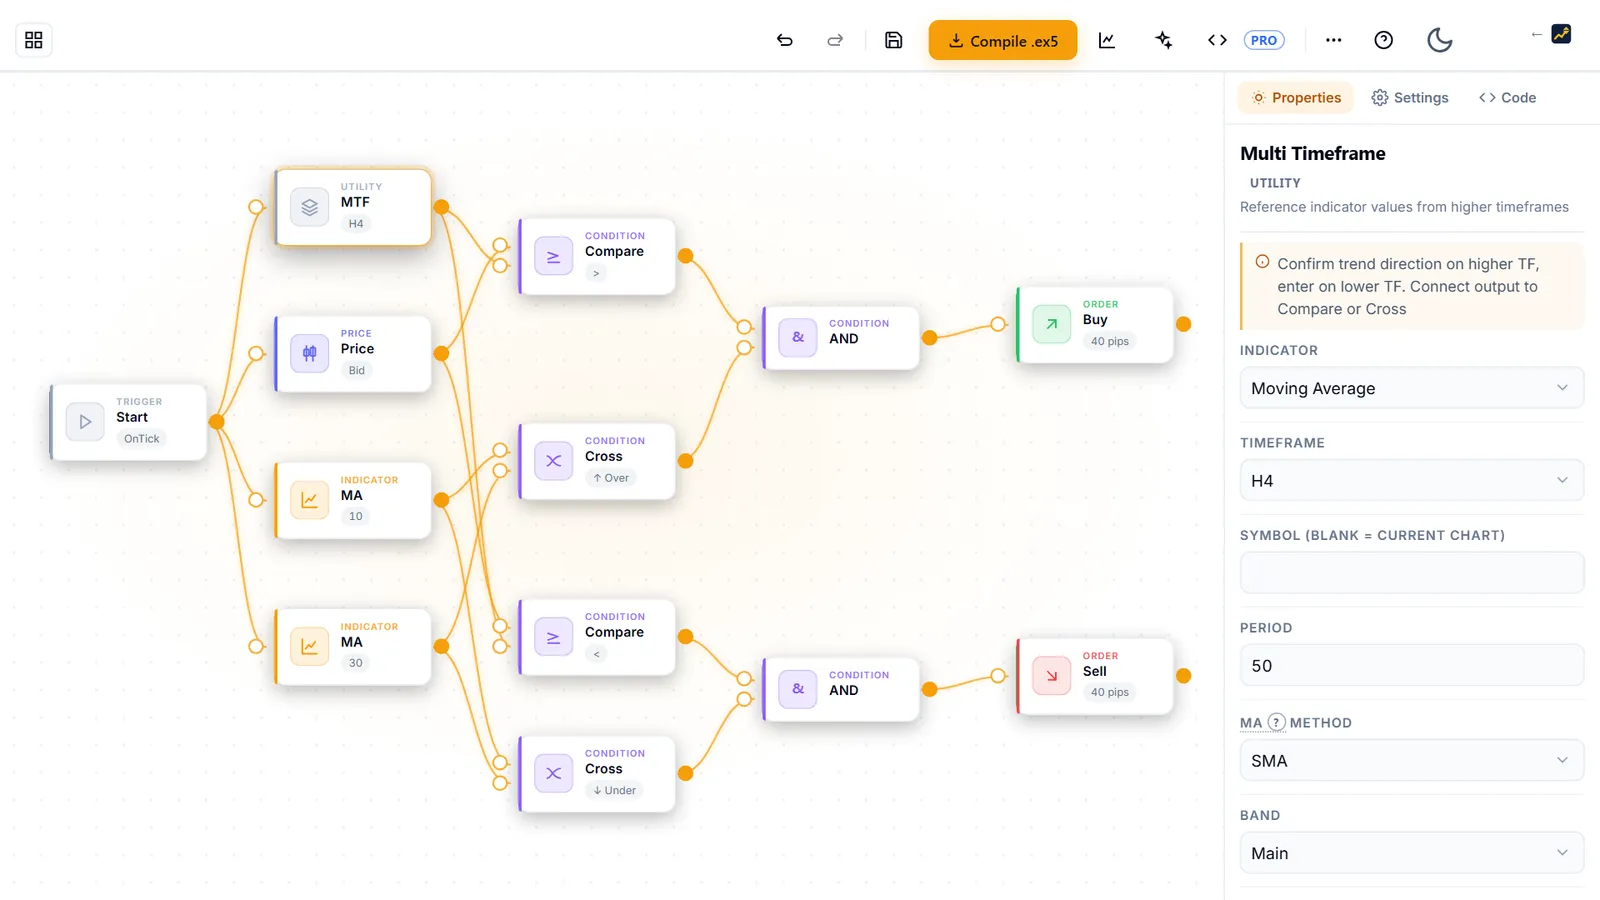
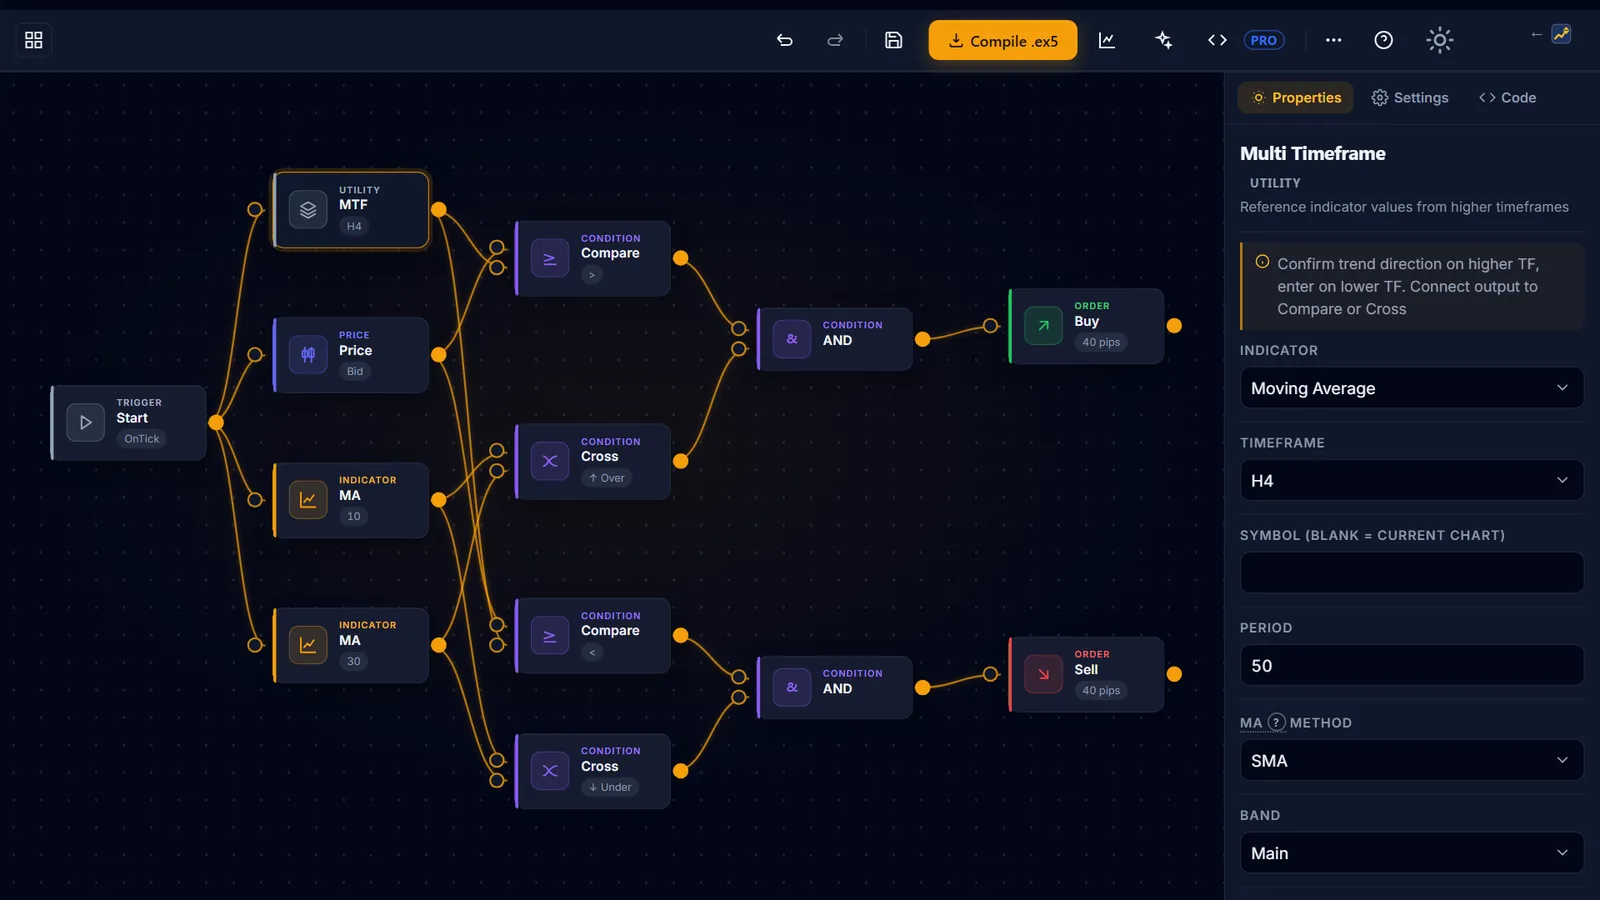
Trend and disciplined carry are the shapes that turn Rio’s character into an asset. Mean-reversion has to fight the very force that moves the pair. The practical route is to build one of these shapes yourself. The Builder ships templates that accept AUD/JPY and exposes every parameter — then test it (below) before you trust a single number.
Best Trading Hours for AUD/JPY EAs
Session structure decides more of a Rio result than indicator choice does. Its clock is the mirror image of a GBP or EUR pair: the good hours land while London sleeps.
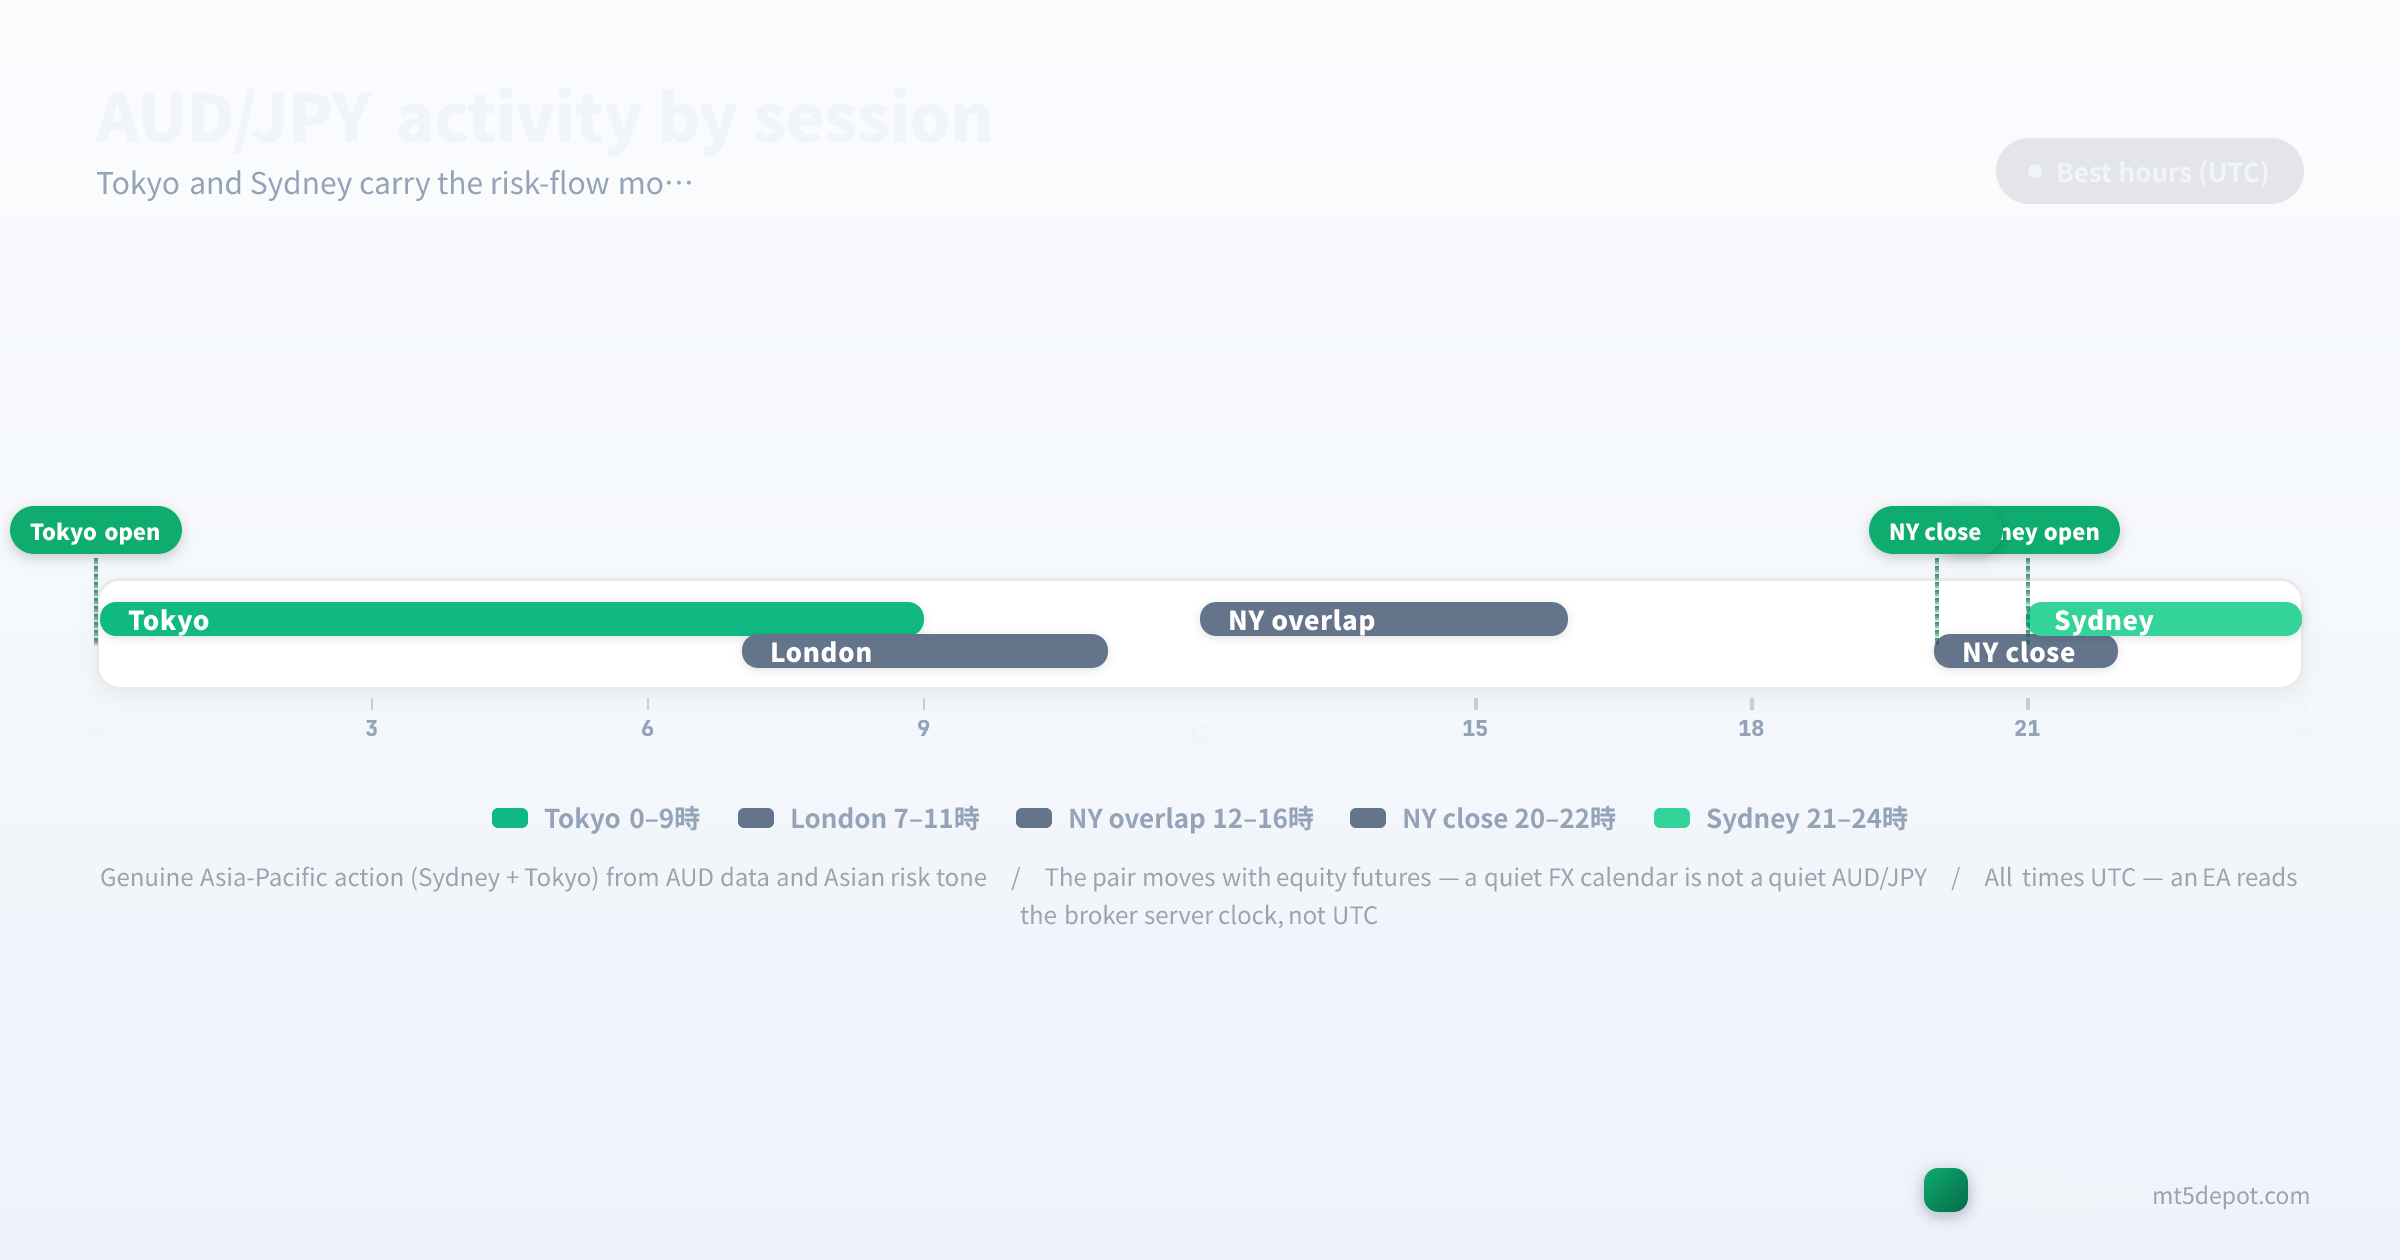
- Sydney open (roughly 21:00–00:00 UTC): the Asia-Pacific day begins here. Australian flow and the overnight risk tone set the cross’s opening bias, and this is where a trend EA on Rio first finds direction.
- Tokyo session (00:00–09:00 UTC): the primary window for this pair. Japanese liquidity, Asian equity trading, and any RBA or BoJ news land here. The cross tends to expand fastest through these hours rather than going quiet the way the majors do.
- London and NY hours (07:00–20:00 UTC): liquidity is deepest globally, but AUD/JPY here is mostly a passenger to the equity and dollar tape rather than trading its own catalysts. Useful for a trend already in motion, riskier for fresh Asia-session breakouts that can reverse when Europe re-prices risk.
- Late NY / thin hours: off-session, low-liquidity noise that traps late trend entries; a session-quality filter should stand these hours down.
In our editorial assessment, an AUD/JPY EA that concentrates on the Sydney-and-Tokyo window often out-performs a 24-hour variant. Treat a session filter as part of the strategy definition rather than an optimisation flourish, and test that on your own data. One caution governs all of it: every clock time above is UTC. An EA reads your broker’s server clock, which is usually not UTC, so a “Tokyo” filter shifts silently when you move the EA between brokers on different server timezones. Verify it once in MT5’s Market Watch, and every session boundary lines up.
Spreads, Costs, and Execution
AUD/JPY is a cross, so it usually costs more to trade than a headline major. The figures below are editorial reference ranges compiled from broker-published standard and raw conditions (updated July 2026), not broker-by-broker measured numbers; our live spread sampling currently covers EUR/USD and a few reference symbols. Confirm the live spread on your own account before you size a fast strategy:
| Account type | Typical AUD/JPY spread | Commission | Who it suits |
|---|---|---|---|
| Standard | 1.5 – 2.5 pips | none | swing / carry / low-frequency trend EAs |
| Raw / ECN | ≈0.5 – 1.0 pips | $3 – 7 / lot | breakout / higher-frequency EAs |
Two cost rules specific to this pair:
- There is a third cost line the majors do not have: the swap. On AUD/JPY the overnight swap is a first-class part of the trade, not an afterthought — a positive credit that props up a long carry and a real drag on a short. An EA that trades this pair without accounting for the swap in its exit logic is mis-pricing its own edge, especially if it holds through the daily rollover.
- The commission is an account property, not a pair property. The same $3–7/lot raw commission applies whether you trade EUR/USD or Rio. What changes between pairs is the spread on top of it. An AUD/JPY breakout EA validated at 0.7 pips all-in and deployed at 2.5 is running a different strategy from the one you tested.
Risks to Test Before Going Live
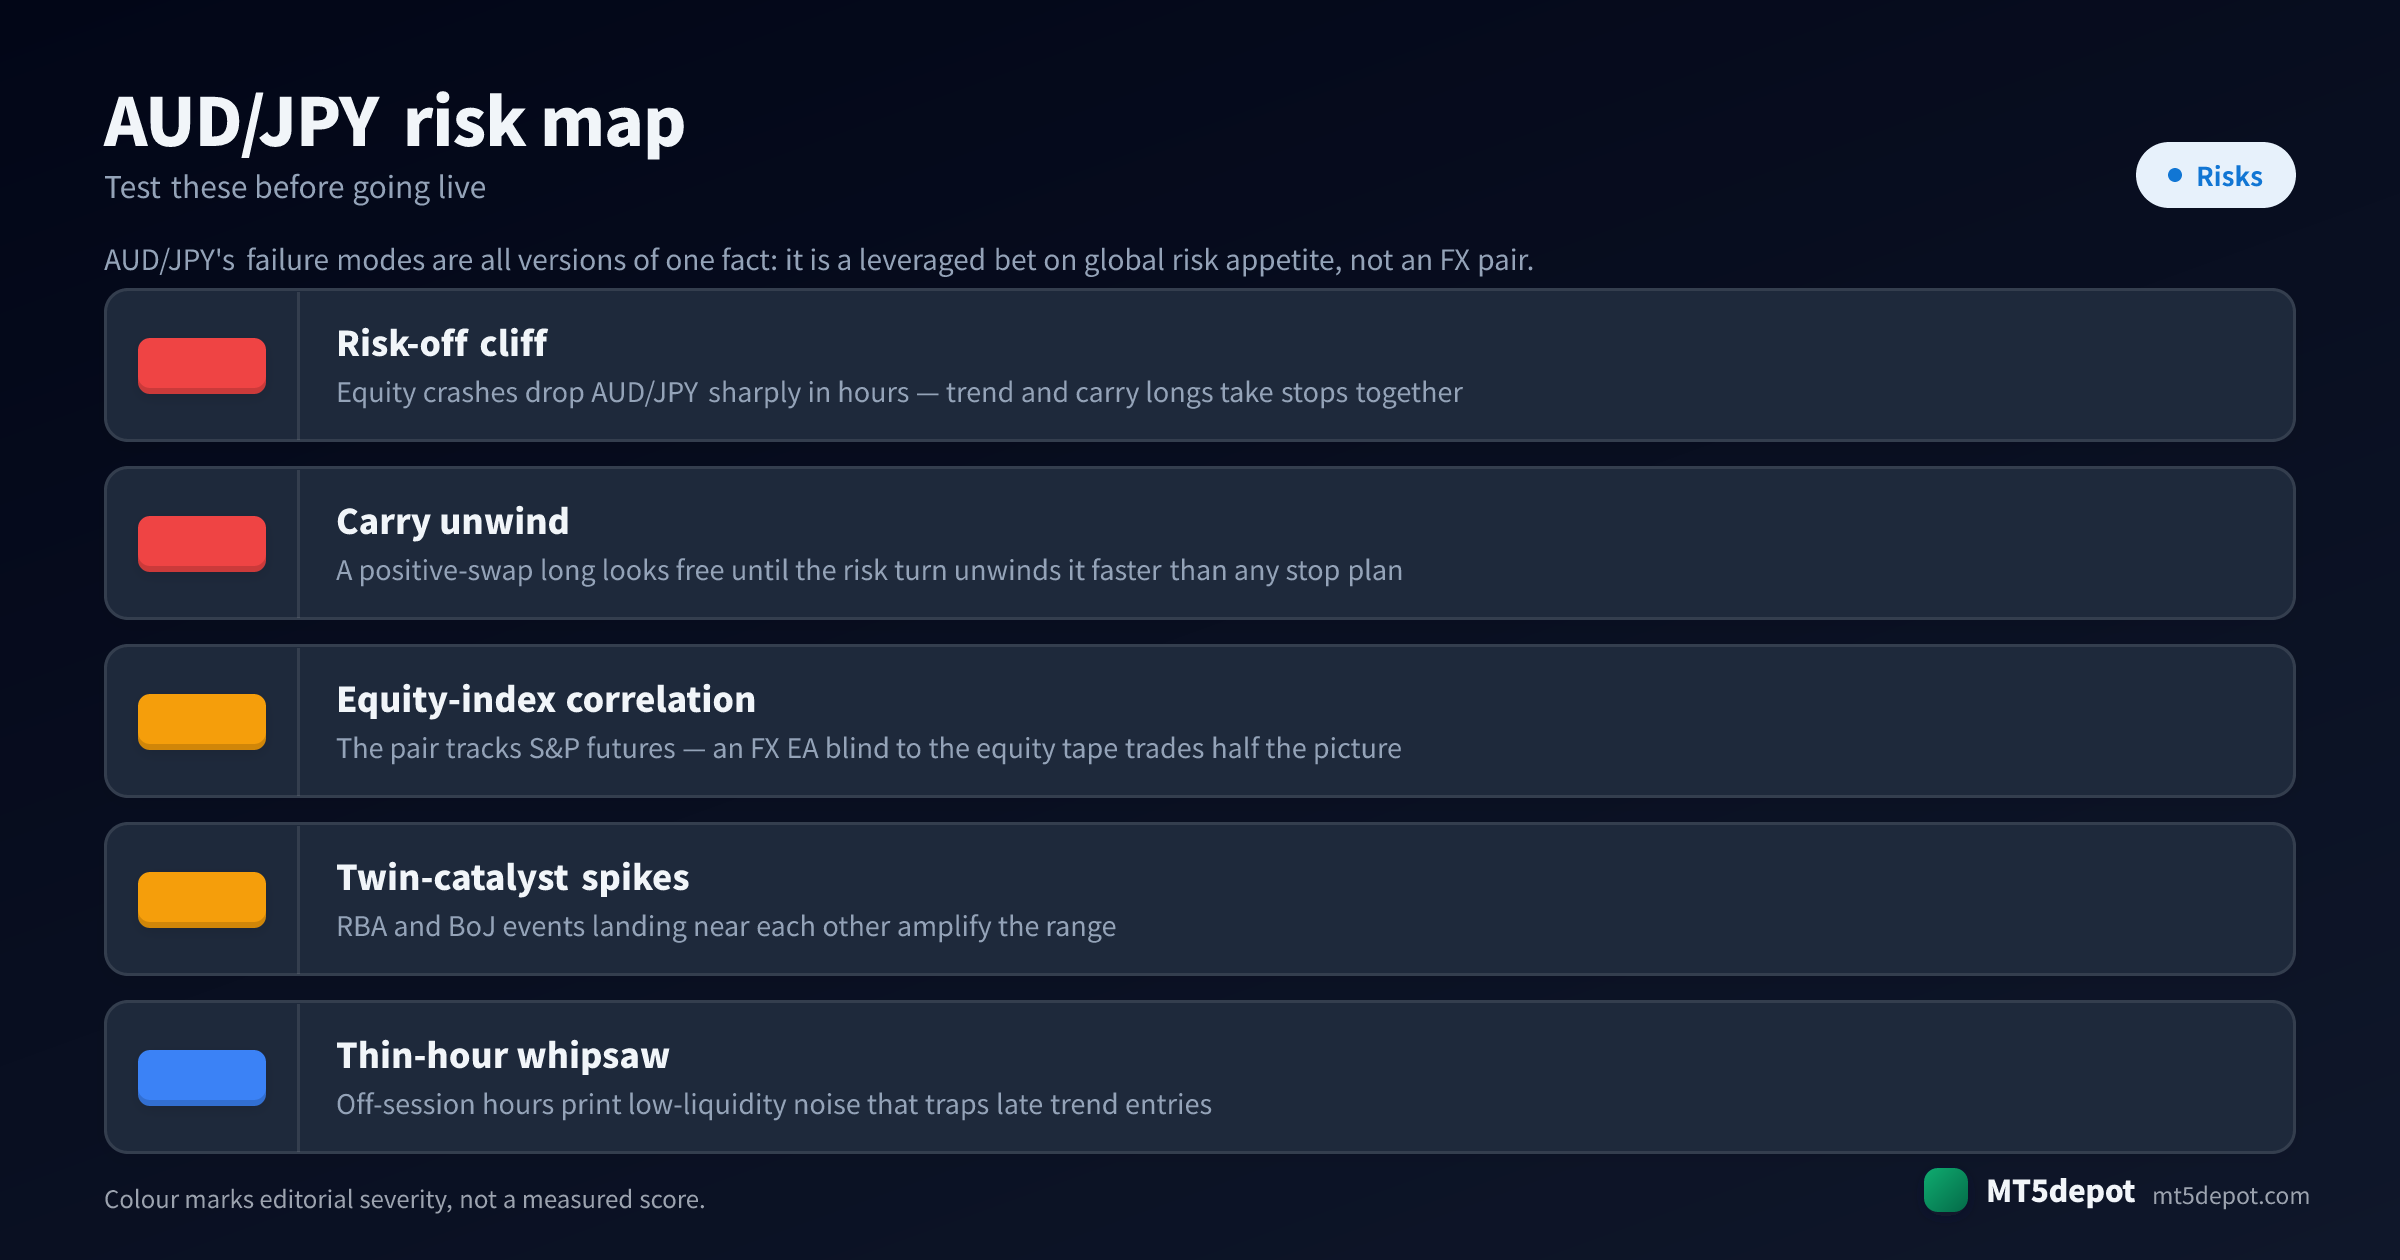
AUD/JPY’s failure modes are all versions of one fact: it is a leveraged bet on global risk appetite, not an FX pair. A generic risk checklist misses every one of these:
- The risk-off cliff. Equity crashes buy the yen and drop AUD/JPY sharply in hours, not days. Trend longs and carry longs get stopped out together, because on this pair they are the same directional bet. Size for a fast, correlated drawdown across every long you hold, not for an orderly one-position stop.
- Carry unwind. A positive-swap long looks free until the risk turn arrives and unwinds it faster than any stop plan was built to absorb. The nightly credit that made the backtest look smooth is exactly what makes the reversal violent when everyone exits the crowded carry at once.
- Equity-index correlation is hidden exposure. The cross tracks S&P futures, so an FX-only EA blind to the equity tape is trading half the picture — the most important input to its own pair sits on a screen it never reads. Two “diversified” longs on AUD/JPY and AUD/USD, or a short USD/JPY alongside, are closer to one leveraged risk-on position than a hedge.
- Twin-catalyst spikes. RBA and BoJ events landing near each other amplify the range instead of cancelling, so a fast strategy can meet two central-bank surprises inside a single Asia session. Fast systems need a news pause; slower ones need stops that survive a large event gap.
- Thin-hour whipsaw. Off-session hours print low-liquidity noise that traps late trend entries. An unfiltered EA reading signals in the dead hours trades that noise, not the risk-driven trend that pays.
How to Test a AUD/JPY EA
On AUD/JPY, the test is the whole edge. Hold anything you build to the bar set out in the site’s methodology:
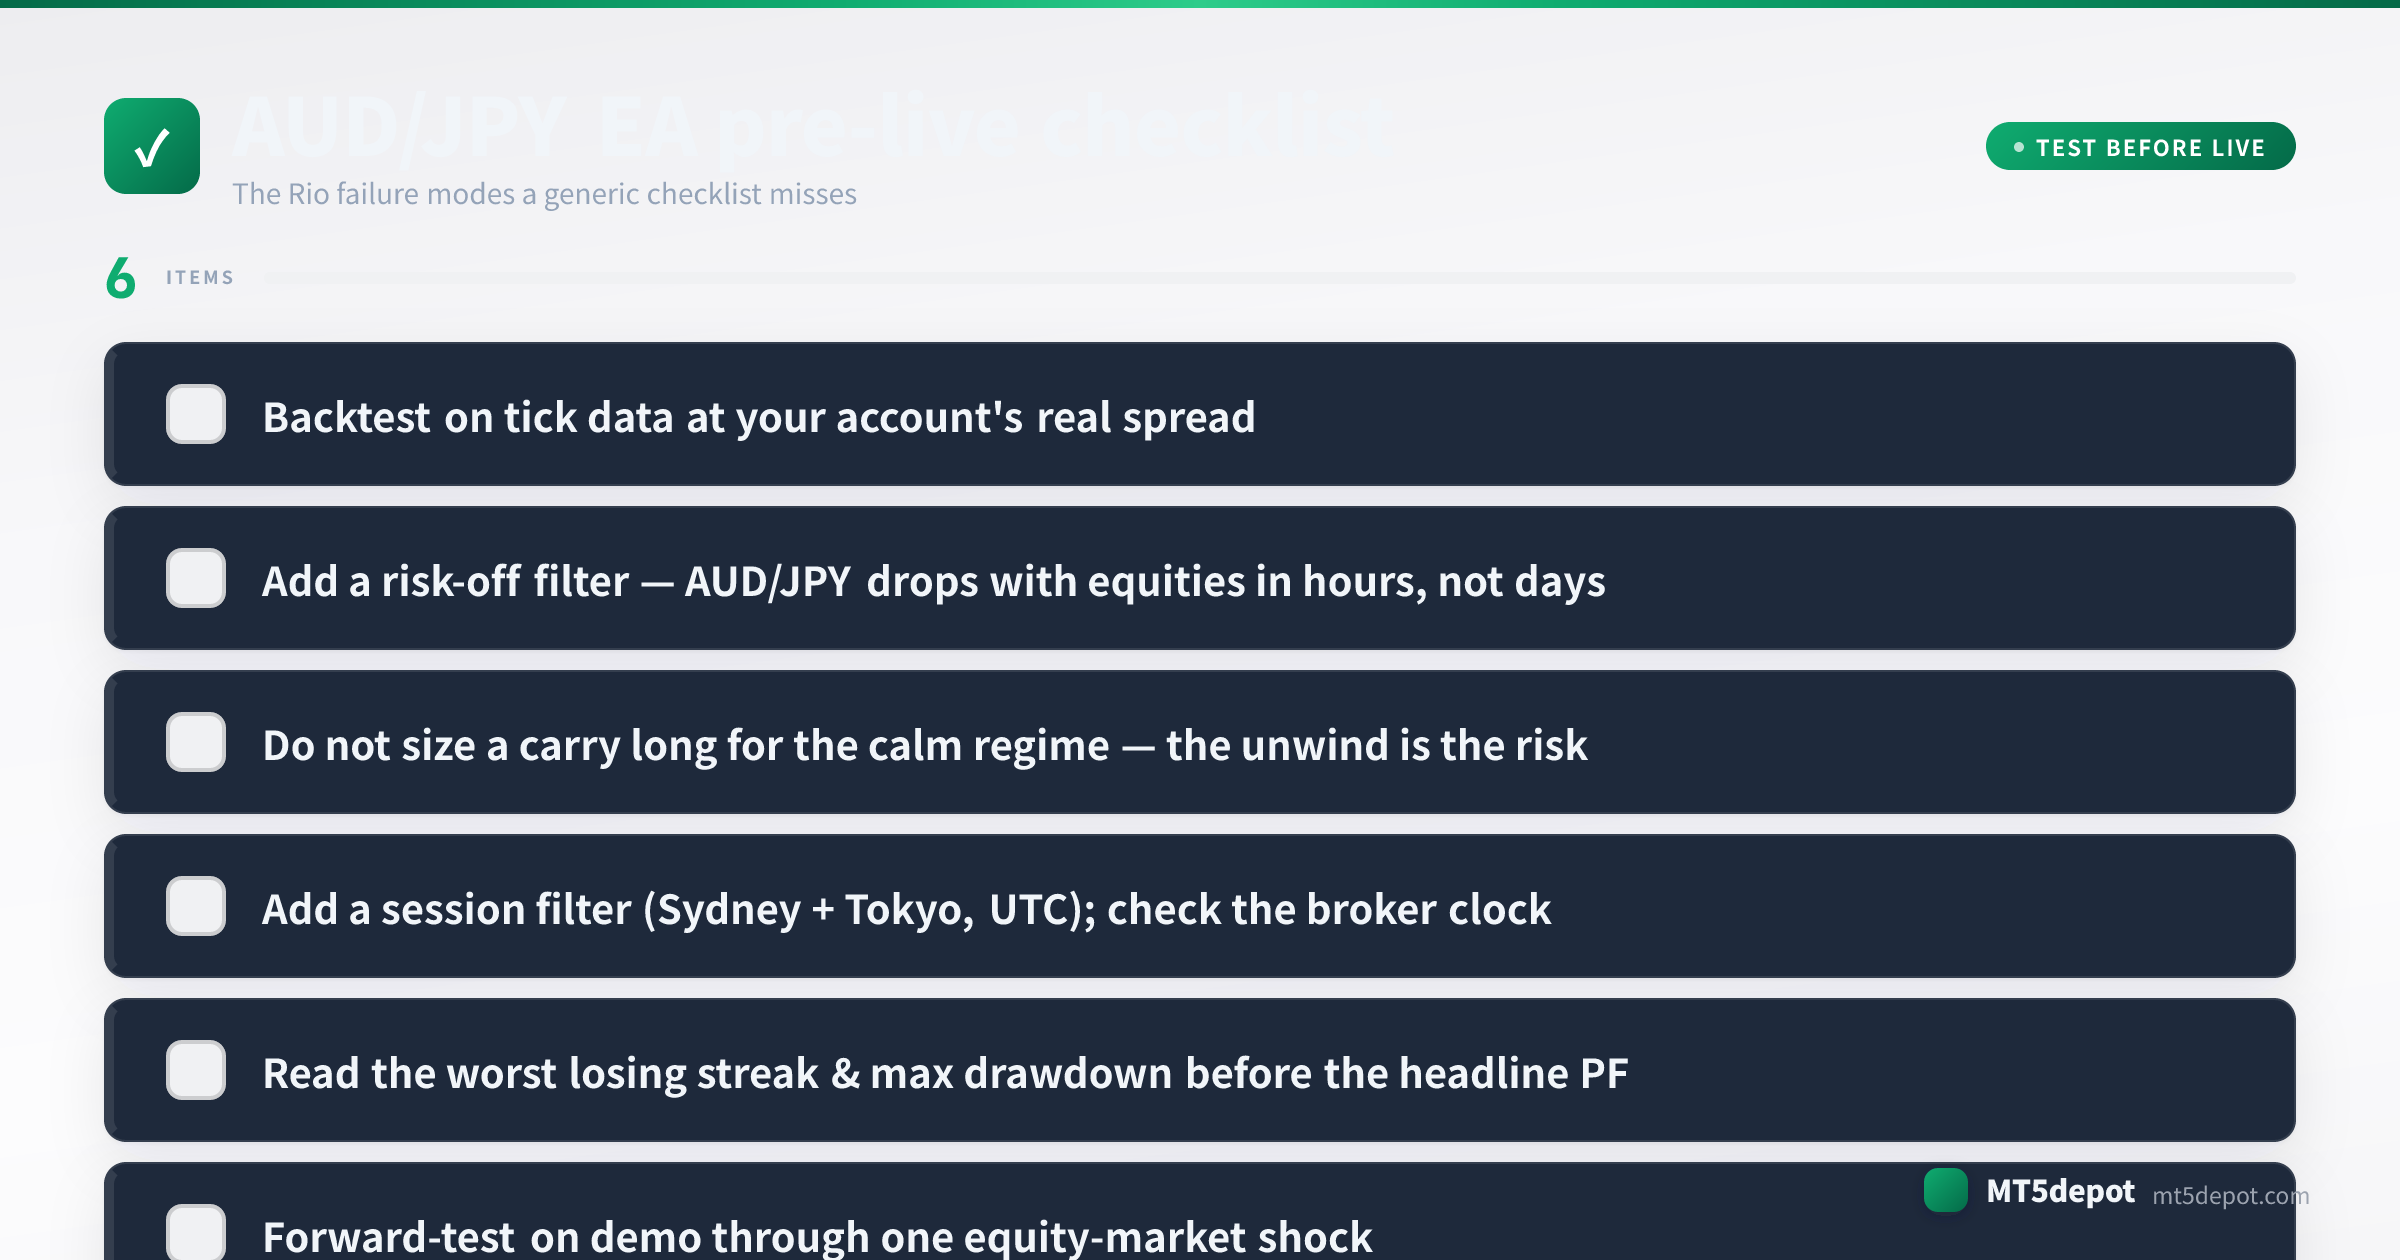
- Backtest on tick data at your account’s real spread. Use an every-tick model with the standard-or-raw spread you will actually trade, not the platform default. Include the overnight swap — on a carry cross the rollover is part of the P&L, not a rounding error.
- Read the worst losing streak, not the headline profit factor. The max drawdown and the longest run of losing trades tell you the capital and the patience the strategy demands. On Rio the worst streak is usually one clustered risk-off cascade, not a slow bleed. Budget for that cascade before you fund it.
- Forward-test on demo through at least one equity-market shock. Rio’s defining risk only shows up when global risk appetite turns. A demo window that never spans an equity sell-off — or a joint RBA/BoJ event — has not tested the thing that matters most. Add a risk-off filter and confirm it actually fires in that window.
- Confirm the server clock before the first live trade. Re-check MT5’s Market Watch time against the UTC session hours above, and re-check it after any broker migration. Easy to skip, expensive to miss on a pair whose edge lives in the Asia-Pacific window.
Every backtest number this produces is a historical measurement, not a forecast — size for the drawdown you measured, not the return you hope for.
AUD/JPY EAs and Builder Templates
We have not published an AUD/JPY backtest of our own, and a result from a calmer major does not carry over to a cross whose worst days are equity-market shocks. The honest route to a Rio EA is to build and verify one:
- The Builder (open it here) accepts AUD/JPY in its trend, breakout, and multi-symbol templates, so the EA you deploy is built on your own numbers — and it is the right place to wire in the risk-off filter this pair demands. The CTA below covers exactly what it produces.
- Related-pair caution. If you already run a GBP/JPY or USD/JPY EA, do not copy its settings across. Those yen pairs share the quote currency but not Rio’s base currency or its drivers, so rebuild the shape and re-test it on AUD/JPY data at AUD/JPY’s spread and swap.
- The concept canonicals. If a term above is unfamiliar, the volatility, ATR and swap entries define the mechanics an AUD/JPY EA depends on, and your own account’s contract specification is where you confirm the standard-vs-raw spread you will actually pay.