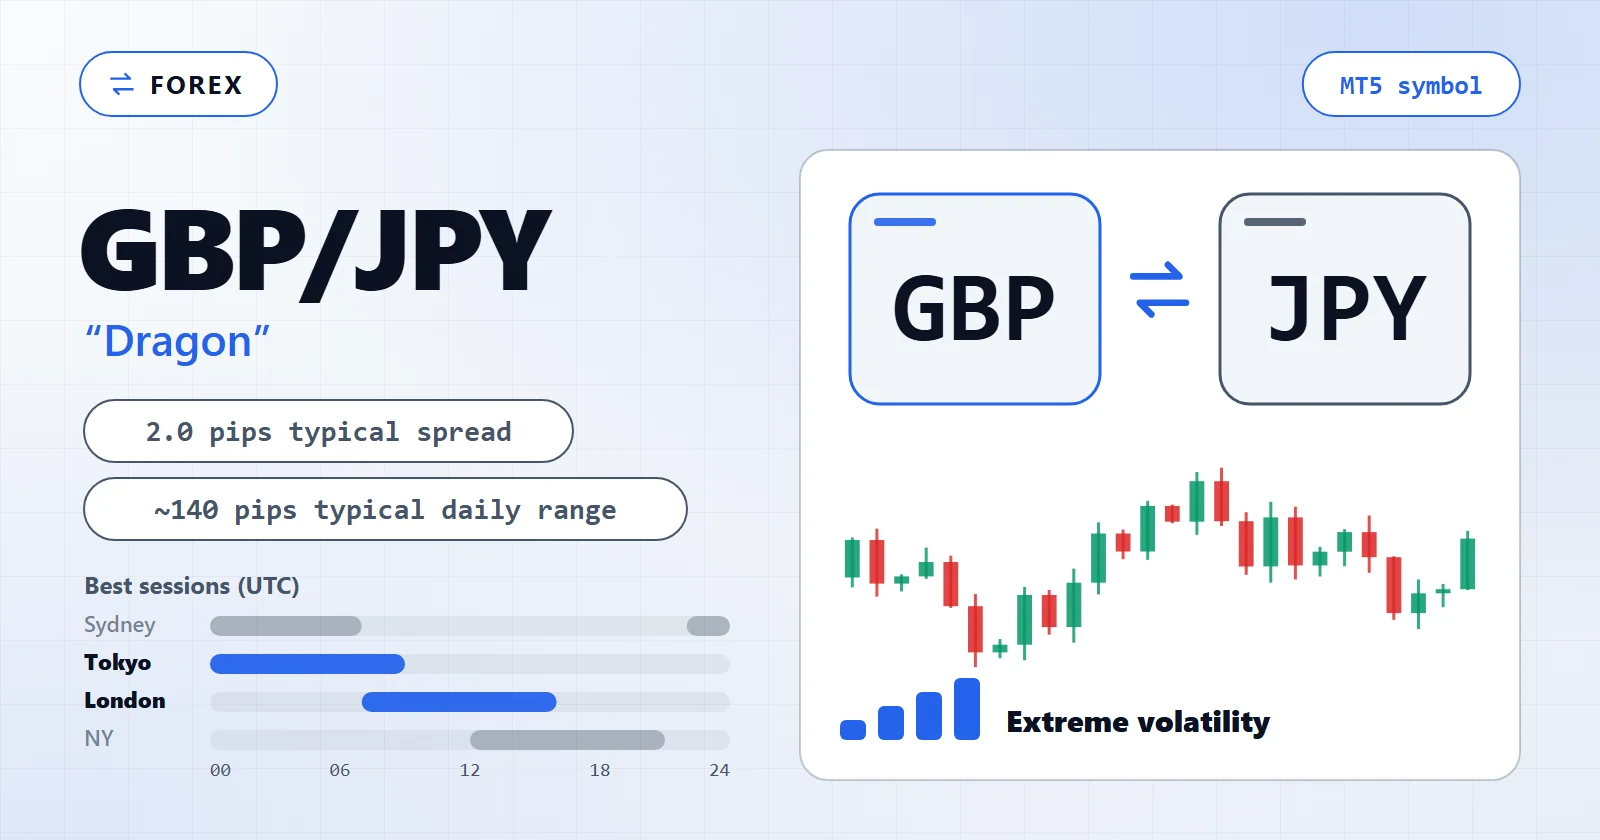
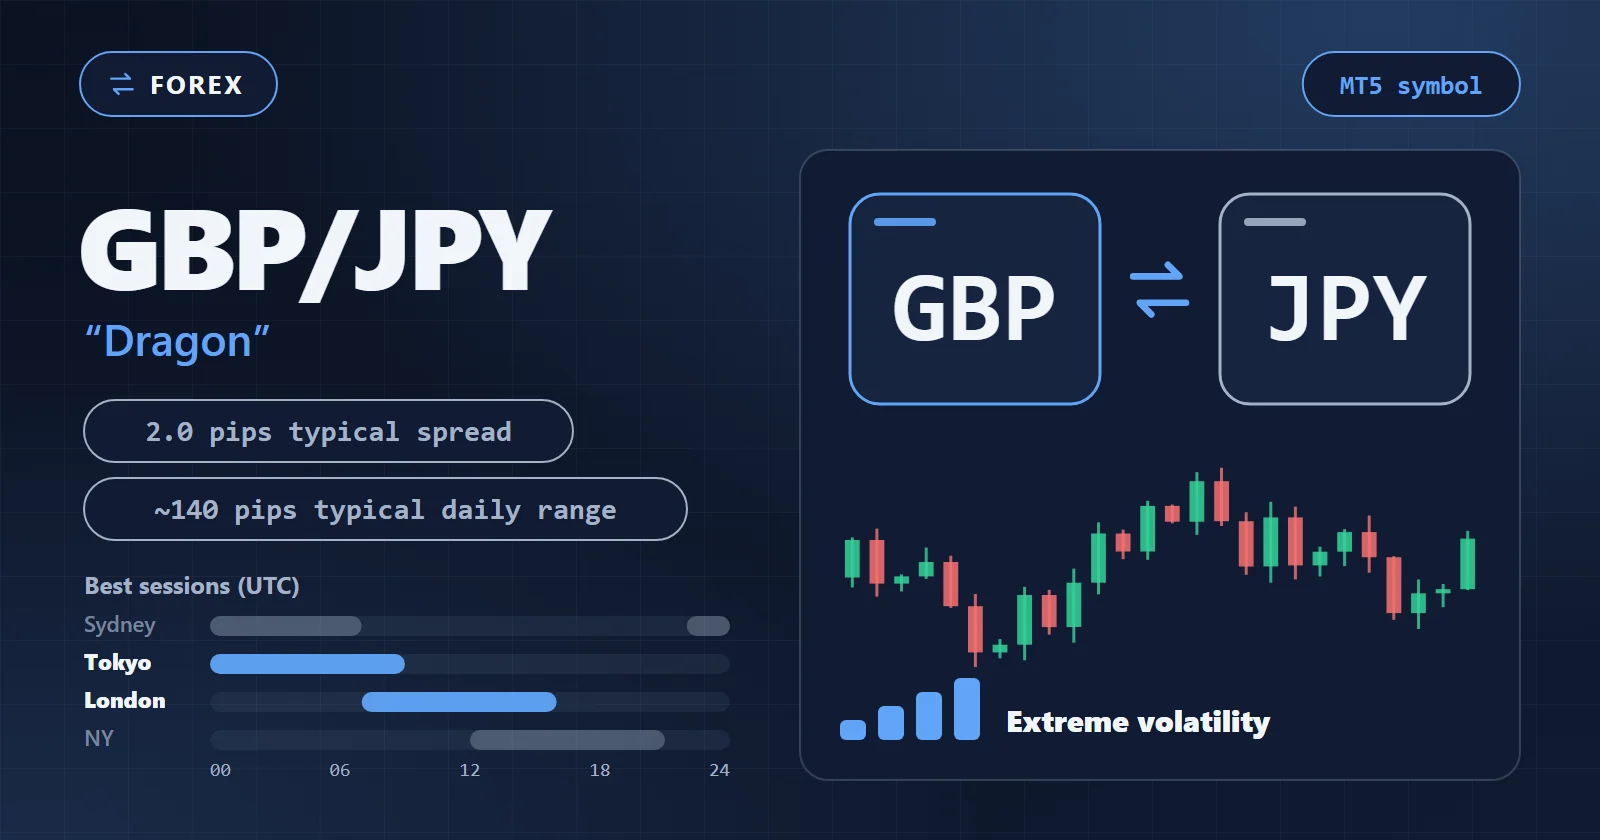
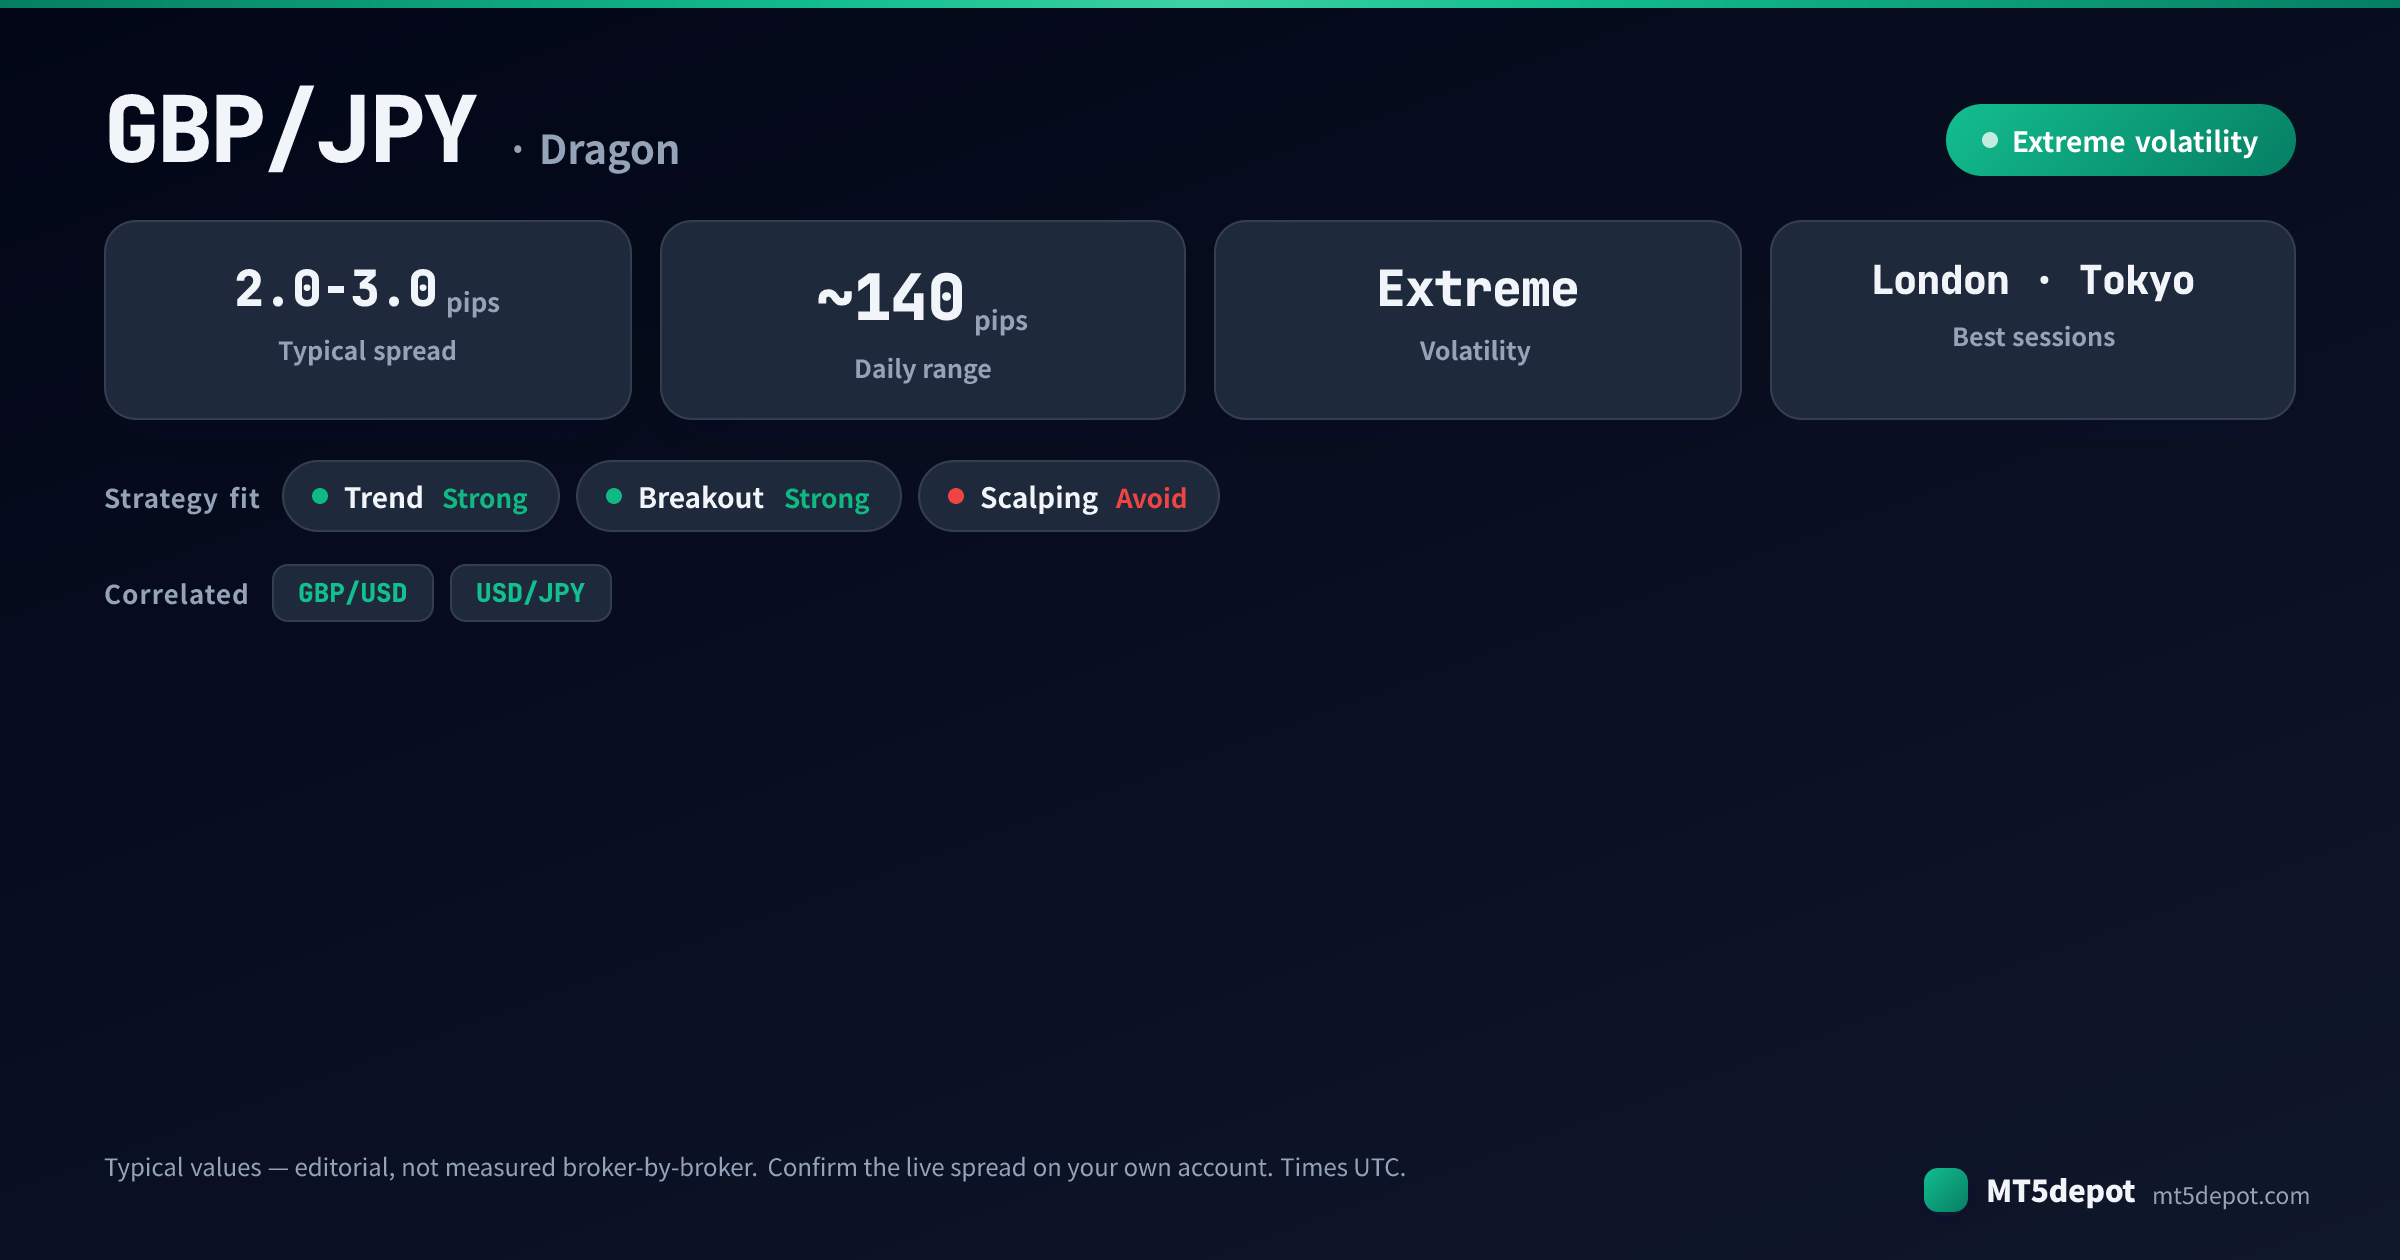
GBP/JPY — known across dealing desks as “the Dragon” — is the most volatile of the G10 crosses. It stacks a Bank of England risk layer on top of a Bank of Japan one, and prints daily ranges no European major reaches. The first thing to decide is whether your strategy wants that range or merely tolerates it. An aggressive trend or breakout EA feeds on Dragon’s expansion, while a system sized for EUR/USD meets stops that are too tight and a spread that eats every small move. Pick the pair to the strategy, not the other way round.
This page covers what GBP/JPY gives an automated strategy that a European major does not: the sessions that decide its results, what it costs, the failure modes that catch systems ported over from calmer pairs, and how to build and test a GBP/JPY EA of your own.
How GBP/JPY Behaves: What Dragon Gives an EA
GBP/JPY is a cross, not a major — there is no dollar in it — and that structure is exactly what makes it move. It carries two independent catalyst streams at once: the GBP leg reflects Bank of England policy and UK-specific sensitivity, and the JPY leg reflects Bank of Japan policy and global risk sentiment. Where a major dilutes one currency’s news against the deep USD baseline, the Dragon compounds two. That is why its typical daily range near 140 pips — labelled typical, not measured broker-by-broker — sits far above a European major’s.
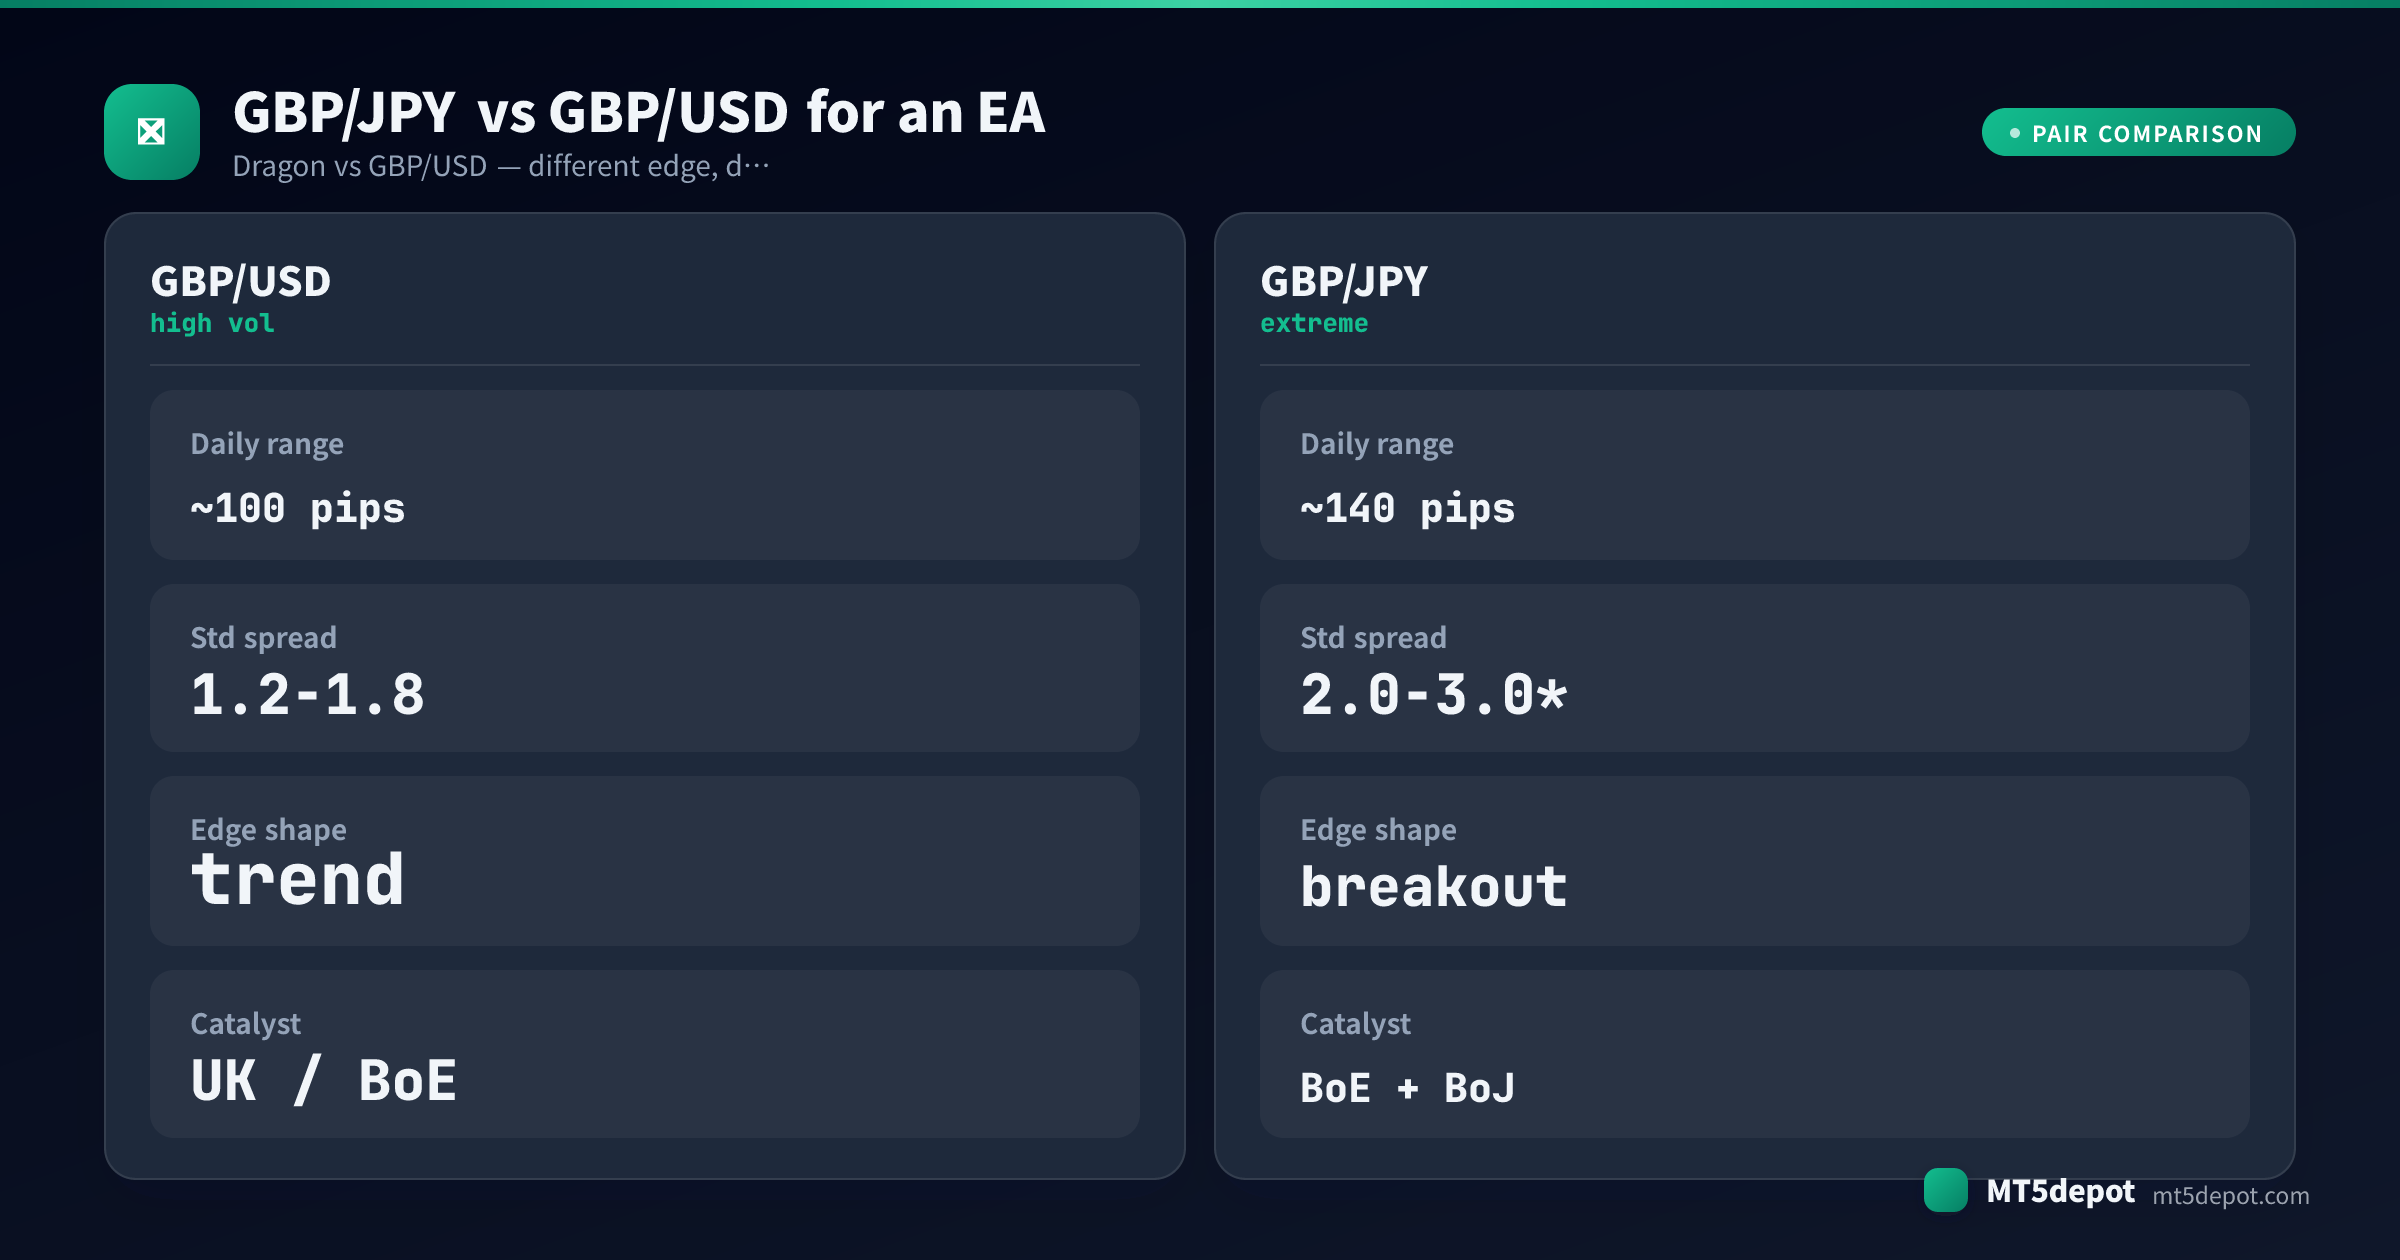
Compared with GBP/USD, which shares the same GBP leg, the difference is the JPY volatility layered on top: Cable’s range is already wide, and GBP/JPY adds a second engine. For an EA, that character reduces to three properties:
- Extreme range is the point. The commonly-cited active-session band runs 120–180 pips when both currencies’ catalysts are live, against a European major’s tighter drift. That extra room is what gives a breakout system a realistic 2:1 target — but it is the single fact every other item on this page follows from, and it cuts both ways.
- Twin-catalyst spikes. BoE and BoJ decisions, or a UK inflation print and a Japanese intervention, can land in the same session and combine. When they do, the pair can print 200+ pips in one session — an opportunity for an event-filtered trend EA and a landmine for a system with no event filter.
- Violent mean-reverting whips. Dragon’s sharp directional runs are often followed by fast reversals that trap late trend entries. The move that looks like a clean breakout on a chart can reverse before a slow EA confirms it, so an entry filter that waits for confirmation pays for itself here more than on a calmer pair.
The trap for automated strategies is that the range which looks like edge on a backtest is the same range that widens the spread, gaps prices, and doubles an ordinary loss — at exactly the moments an EA concentrates its trades. Dragon rewards systems that respect its volatility regime and quietly drains ones that assume a European-major range.
Which EA Strategies Suit GBP/JPY?
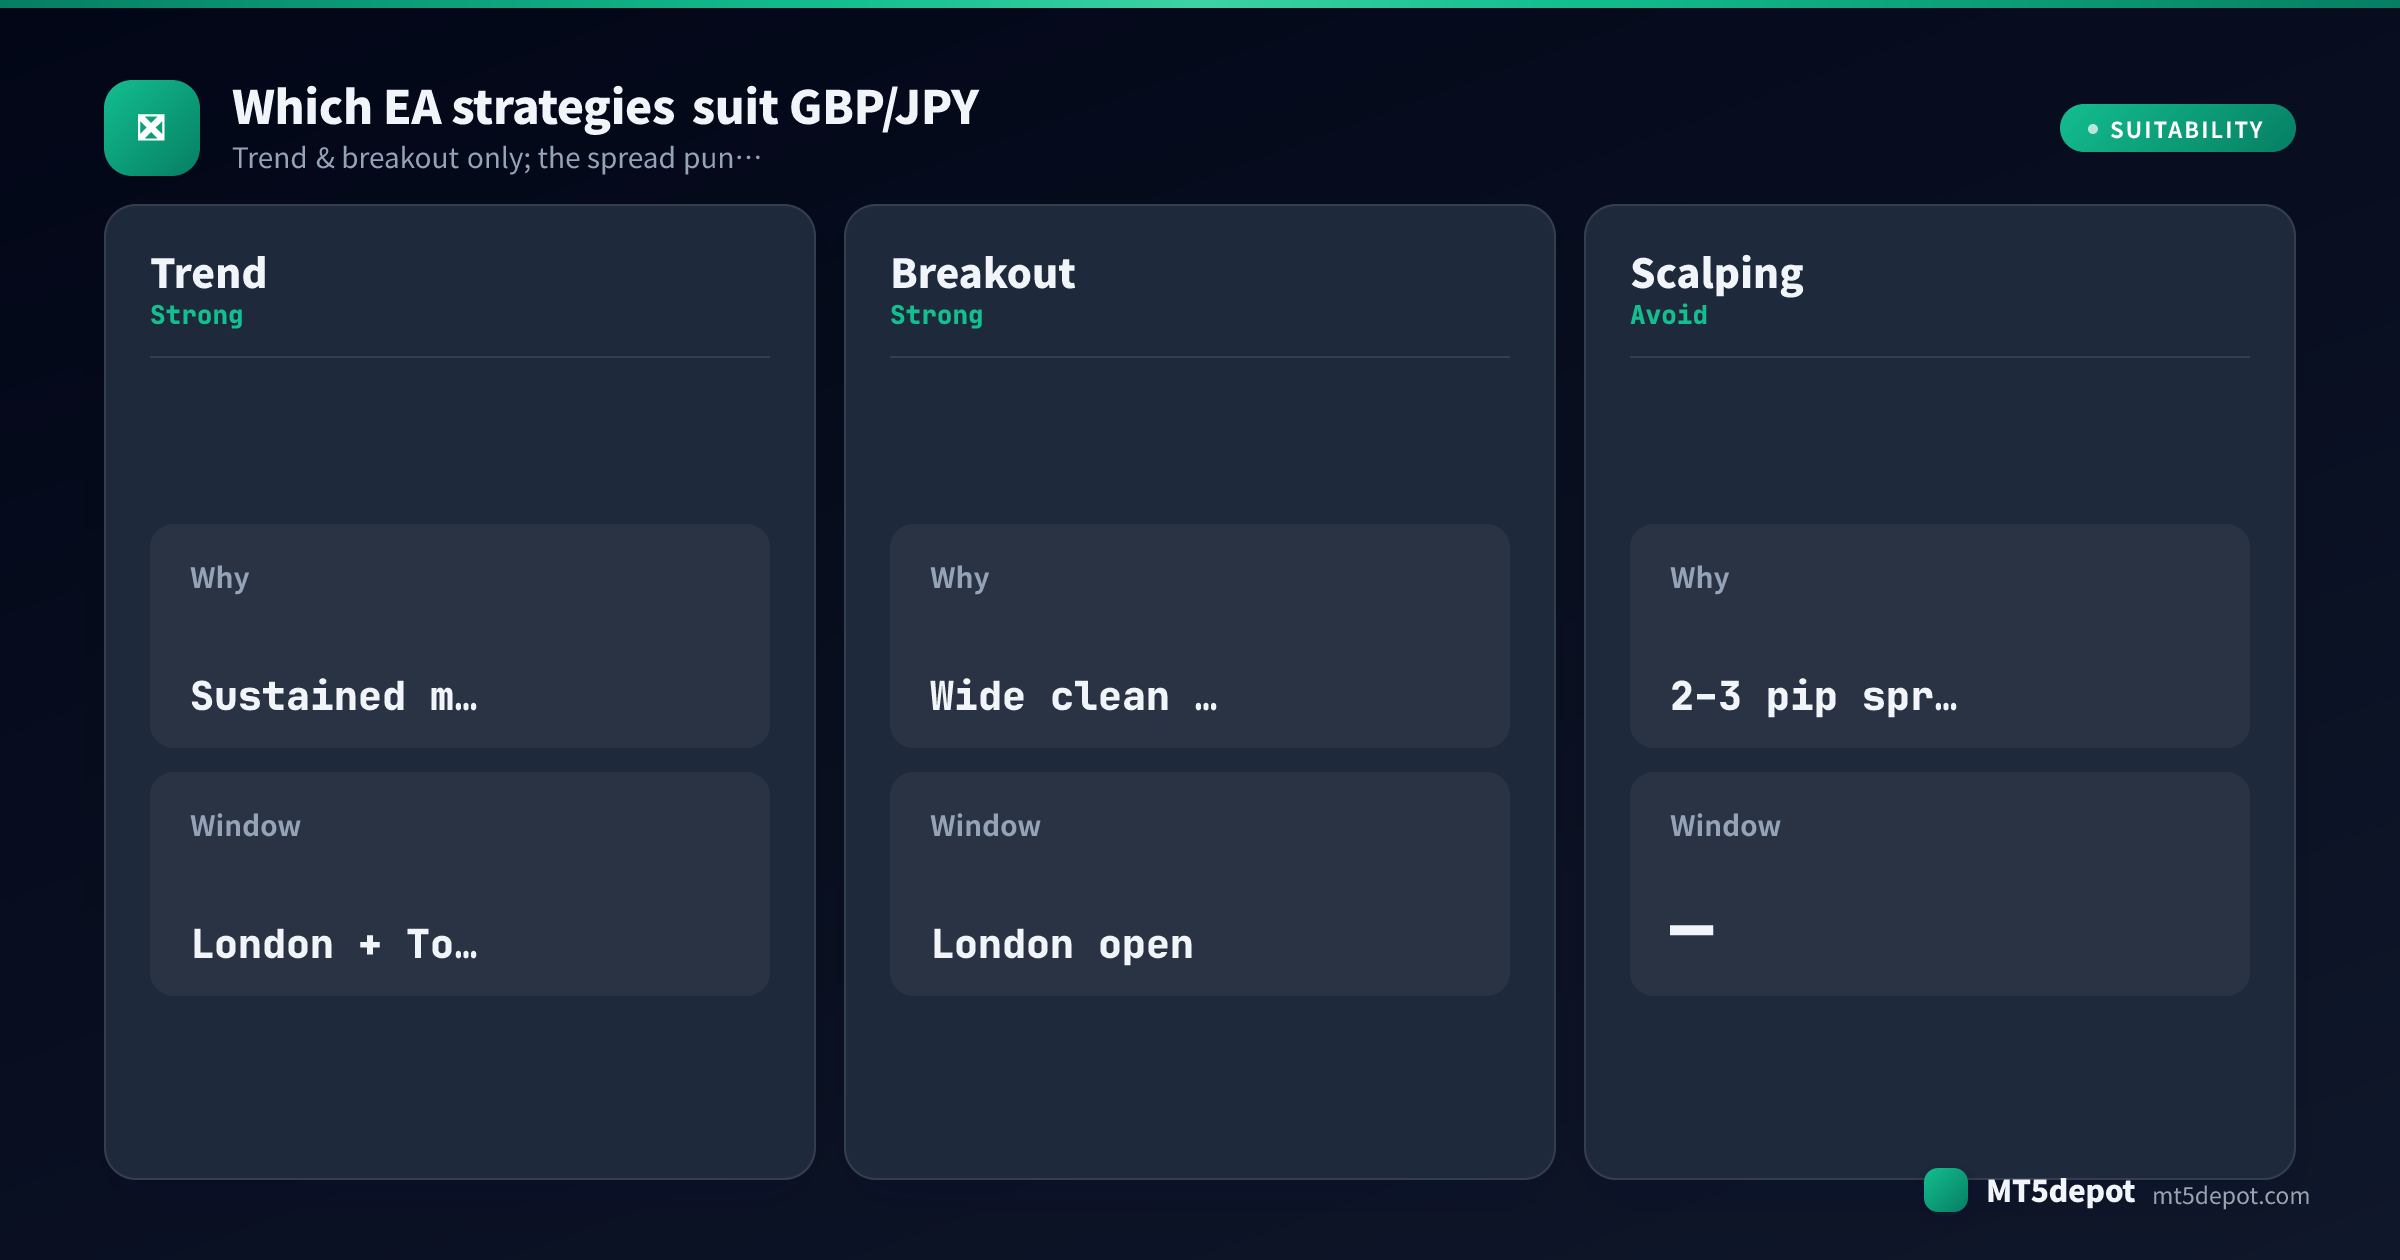
The pair’s profile lists trend and breakout as suitable — but suitability is an editorial assessment, not proof. In our own stock-settings baseline of the Builder’s templates — a single USD/JPY M5 run over one year, default inputs, no optimisation — most finished below a 1.0 profit factor, and that run was not on GBP/JPY. Almost none cleared the Builder’s own bar at stock settings, so treat any edge on GBP/JPY as something your own settings and test have to earn. Look for it in ATR-scaled stops, session windows and event pauses, not the indicator on the box. What Dragon’s character tends to support:
| Strategy | Fit on GBP/JPY | Why |
|---|---|---|
| Trend-following | Strong | GBP/JPY produces sustained directional moves across the London and Tokyo windows; the range gives a momentum system room to run, provided its stops are scaled to the pair’s own ATR. |
| Breakout (pending orders) | Strong | The wide, clean ranges resolve hardest on the London open. Pending-order entries at the range edge are less spread-sensitive than market fills — which matters more on a 2–3 pip pair than on a tight major. |
| Scalping | Avoid | The 2–3 pip standard spread is a recurring tax on small moves, and Dragon’s fast excursions widen it further exactly when a scalper trades. Even on raw, the violent reversals punish thin stops. |
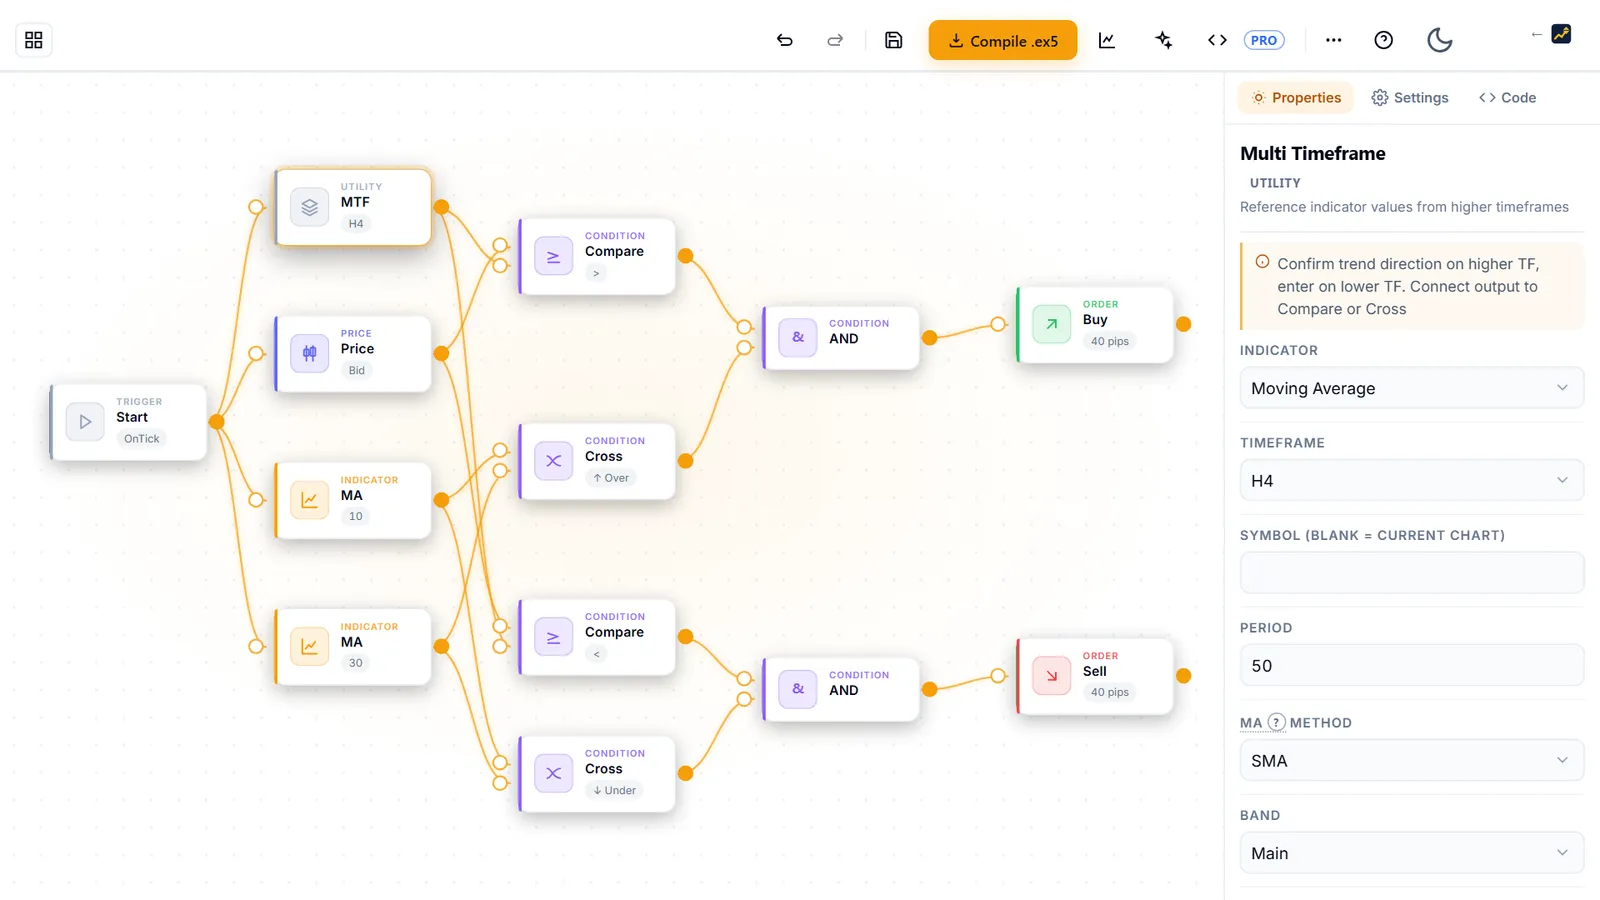
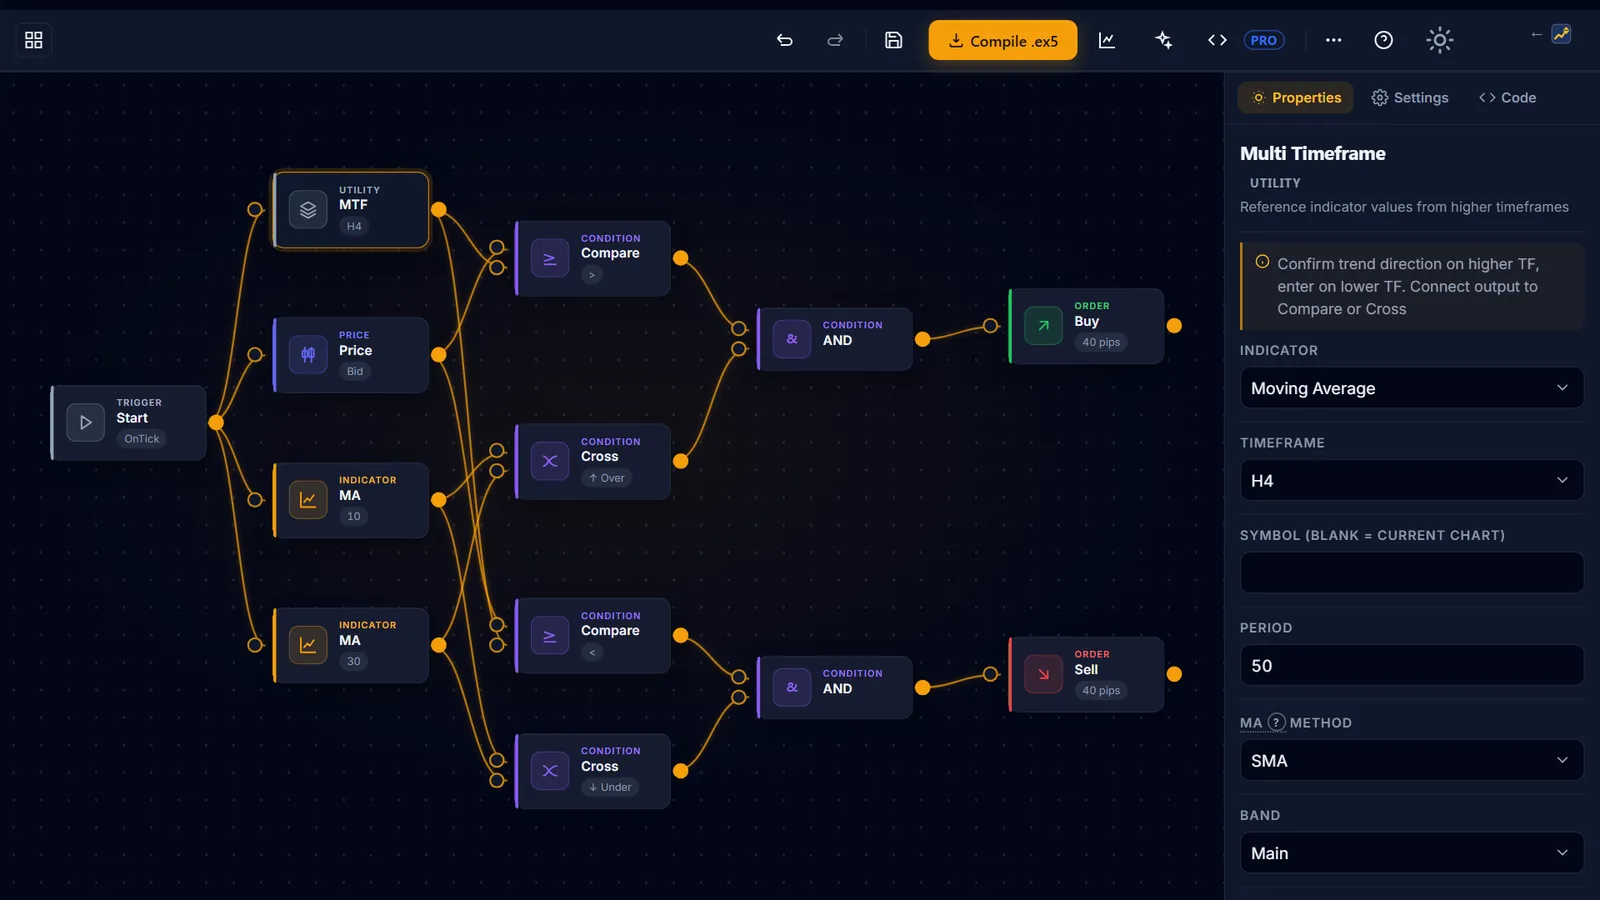
Trend and breakout are the shapes that turn Dragon’s range into an asset; scalping has to fight the spread and the noise, and usually loses. The practical route is to build one of these shapes yourself. The Builder ships templates that accept GBP/JPY and exposes every parameter — test what you build (below) before you trust a single number.
Best Trading Hours for GBP/JPY EAs
Session structure decides more of a Dragon result than indicator choice does:
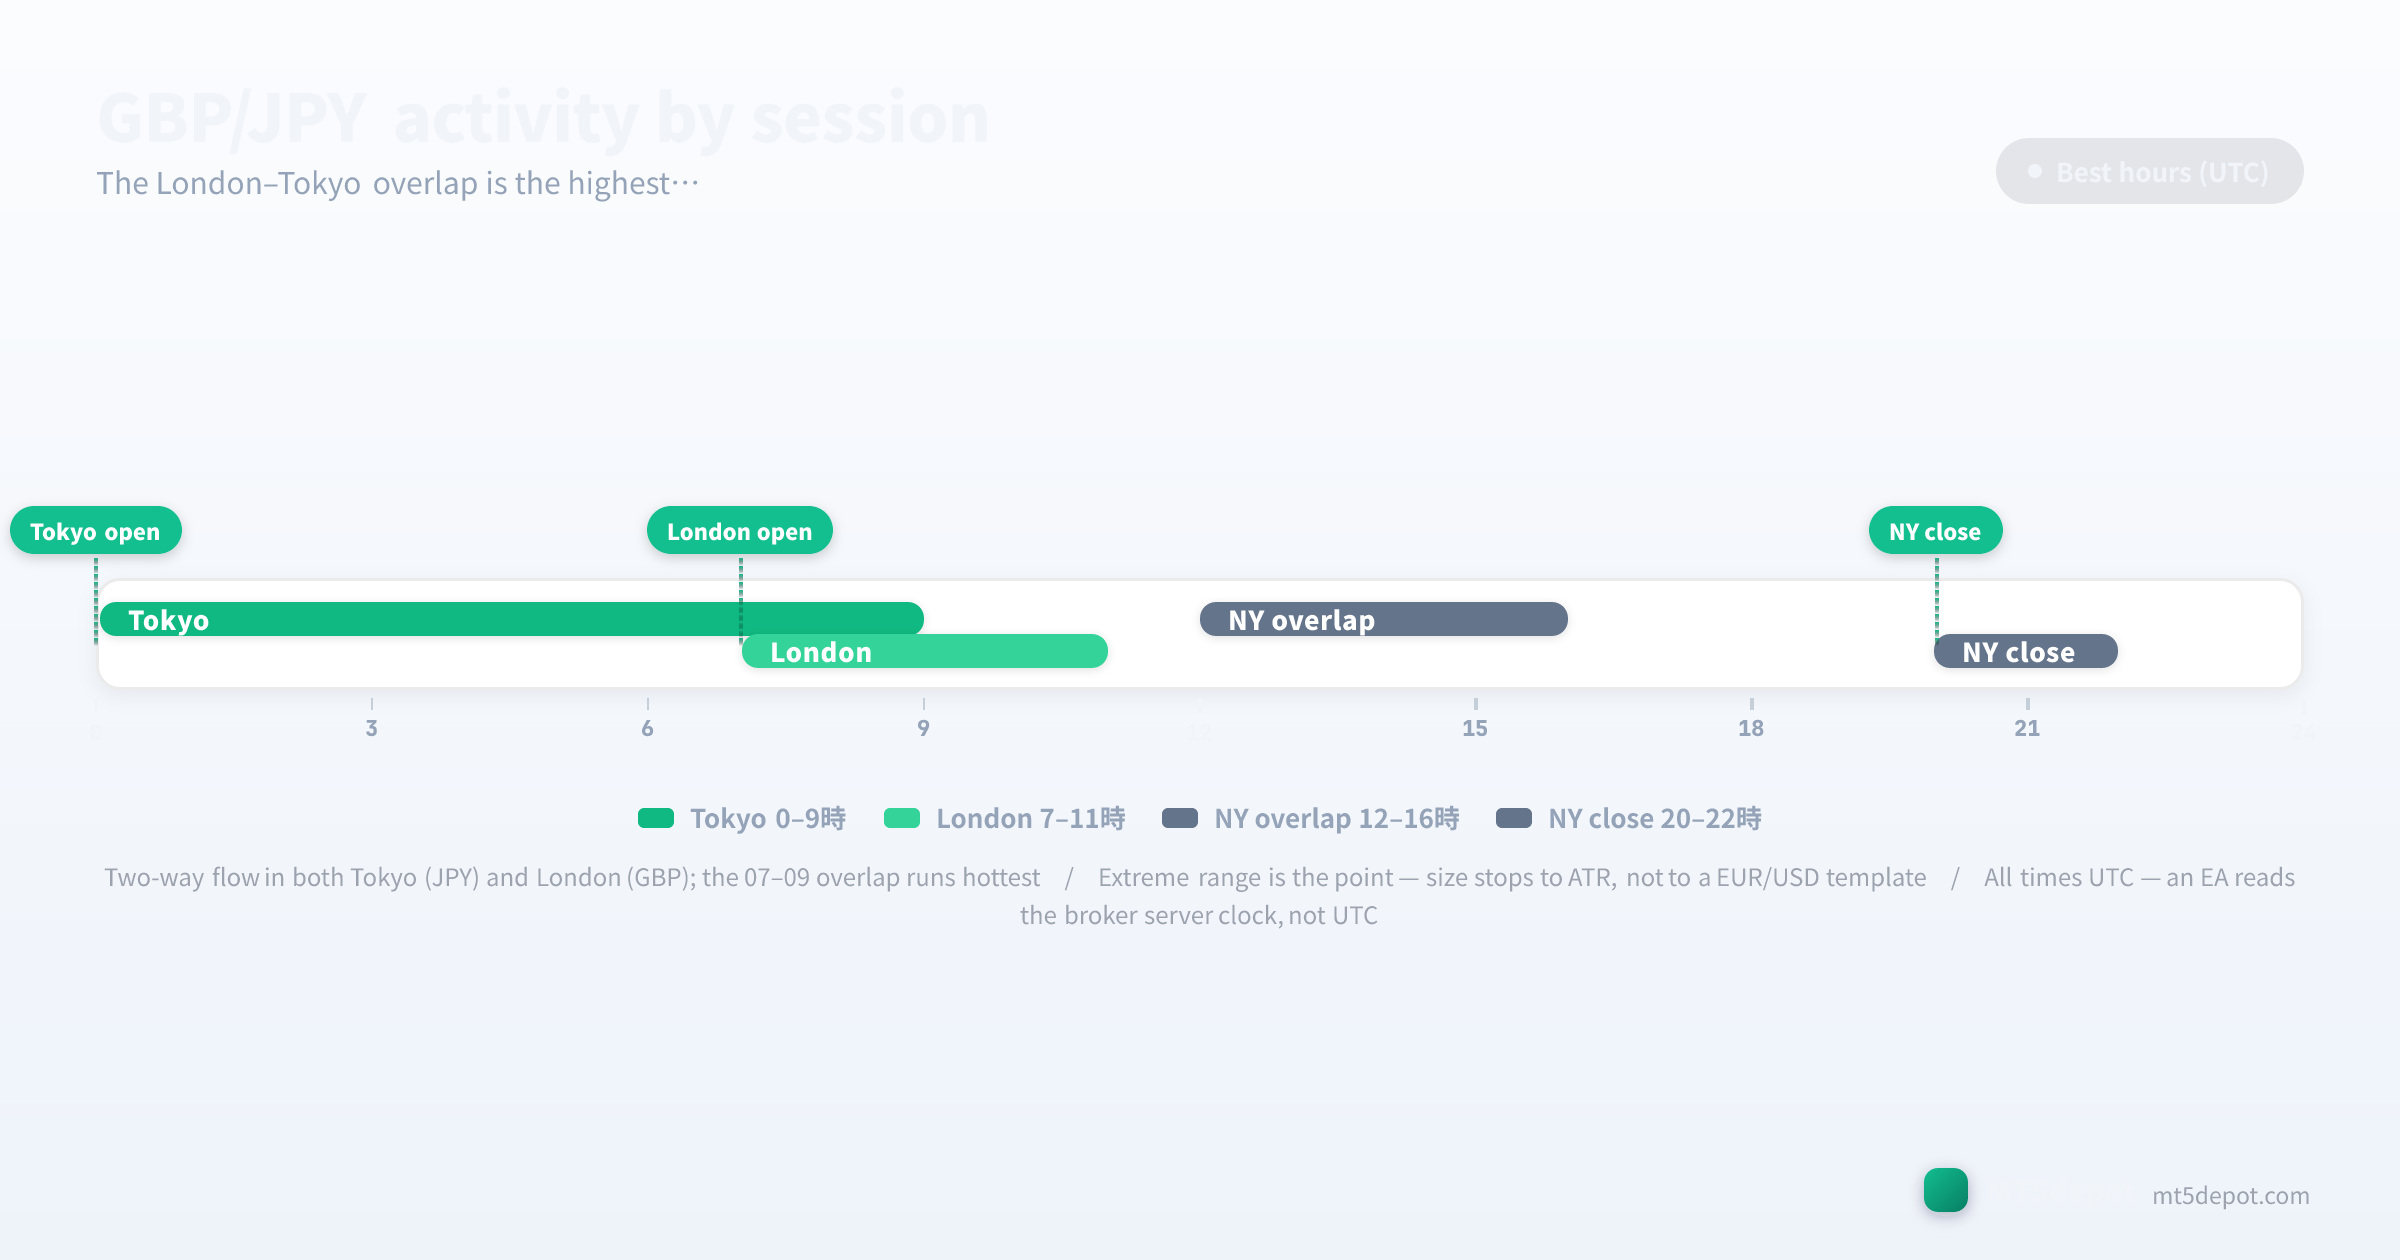
- Tokyo session (00:00–09:00 UTC): genuine range from JPY liquidity and Japanese data — unlike a European major, GBP/JPY moves here, so an overnight signal can be trend rather than noise.
- London–Tokyo overlap (07:00–09:00 UTC): the highest-range window of the day, where GBP flow arrives while Tokyo is still open. Breakout and trend EAs tend to earn most of their result in this two-hour band.
- London hours (07:00–11:00 UTC): the primary directional window as the range from the overnight consolidation resolves; UK catalysts land here and drive the sharpest moves.
- Late NY / pre-Tokyo (21:00–24:00 UTC): thin liquidity and low-conviction drift; session-quality filters should usually exclude these hours.
EAs that restrict trading to the London-and-Tokyo windows often out-perform 24-hour variants on GBP/JPY, in our editorial assessment. A session filter here is best treated as part of the strategy definition rather than an optimisation flourish. Two cautions come with it. Scheduled BoE and BoJ events sit inside those good windows and widen spreads exactly then, so a fast strategy needs a news pause or it pays several times the normal spread at the worst moment. And every clock time above is UTC. An EA reads your broker’s server clock, which is usually not UTC, so a “07:00” overlap filter shifts silently when you move the EA between brokers on different server timezones. This is the one clock rule for the whole page; verify it once, in MT5’s Market Watch, and every session boundary lines up.
Spreads, Costs, and Execution
GBP/JPY is one of the more expensive instruments to trade — the price of its range. The figures below are editorial reference ranges compiled from broker-published standard and raw conditions (updated July 2026), not broker-by-broker measured numbers — our live spread sampling currently covers EUR/USD and a few reference symbols, so confirm the live spread on your own account before you size a fast strategy:
| Account type | Typical GBP/JPY spread | Commission | Who it suits |
|---|---|---|---|
| Standard | 2.0 – 3.0 pips | none | swing / trend / breakout EAs |
| Raw / ECN | ≈0.5 – 1.0 pips | $3 – 7 / lot | selective breakout EAs only |
Two cost rules specific to this pair:
- The spread is a recurring tax on small moves, so target big ones. A 2–3 pip standard spread is a rounding error for a breakout EA aiming at a 60-pip move and a fatal drag on anything scalping 8 pips. That is the mechanical reason Dragon suits trend and breakout systems and punishes high-frequency ones — the spread sets a floor under how small a target can profitably be, and here that floor is high. Fast systems that must run this pair belong on raw-type accounts where the spread compresses to a known number.
- The commission is an account property, not a pair property. The same $3–7/lot raw commission applies whether you trade EUR/USD or GBP/JPY; what changes between pairs is the spread on top of it. A strategy validated at a 0.7 pip all-in cost and deployed at 2.5 pips is running a different strategy from the one you tested — and on Dragon that gap is wide enough to flip a backtest’s sign.
Risks to Test Before Going Live
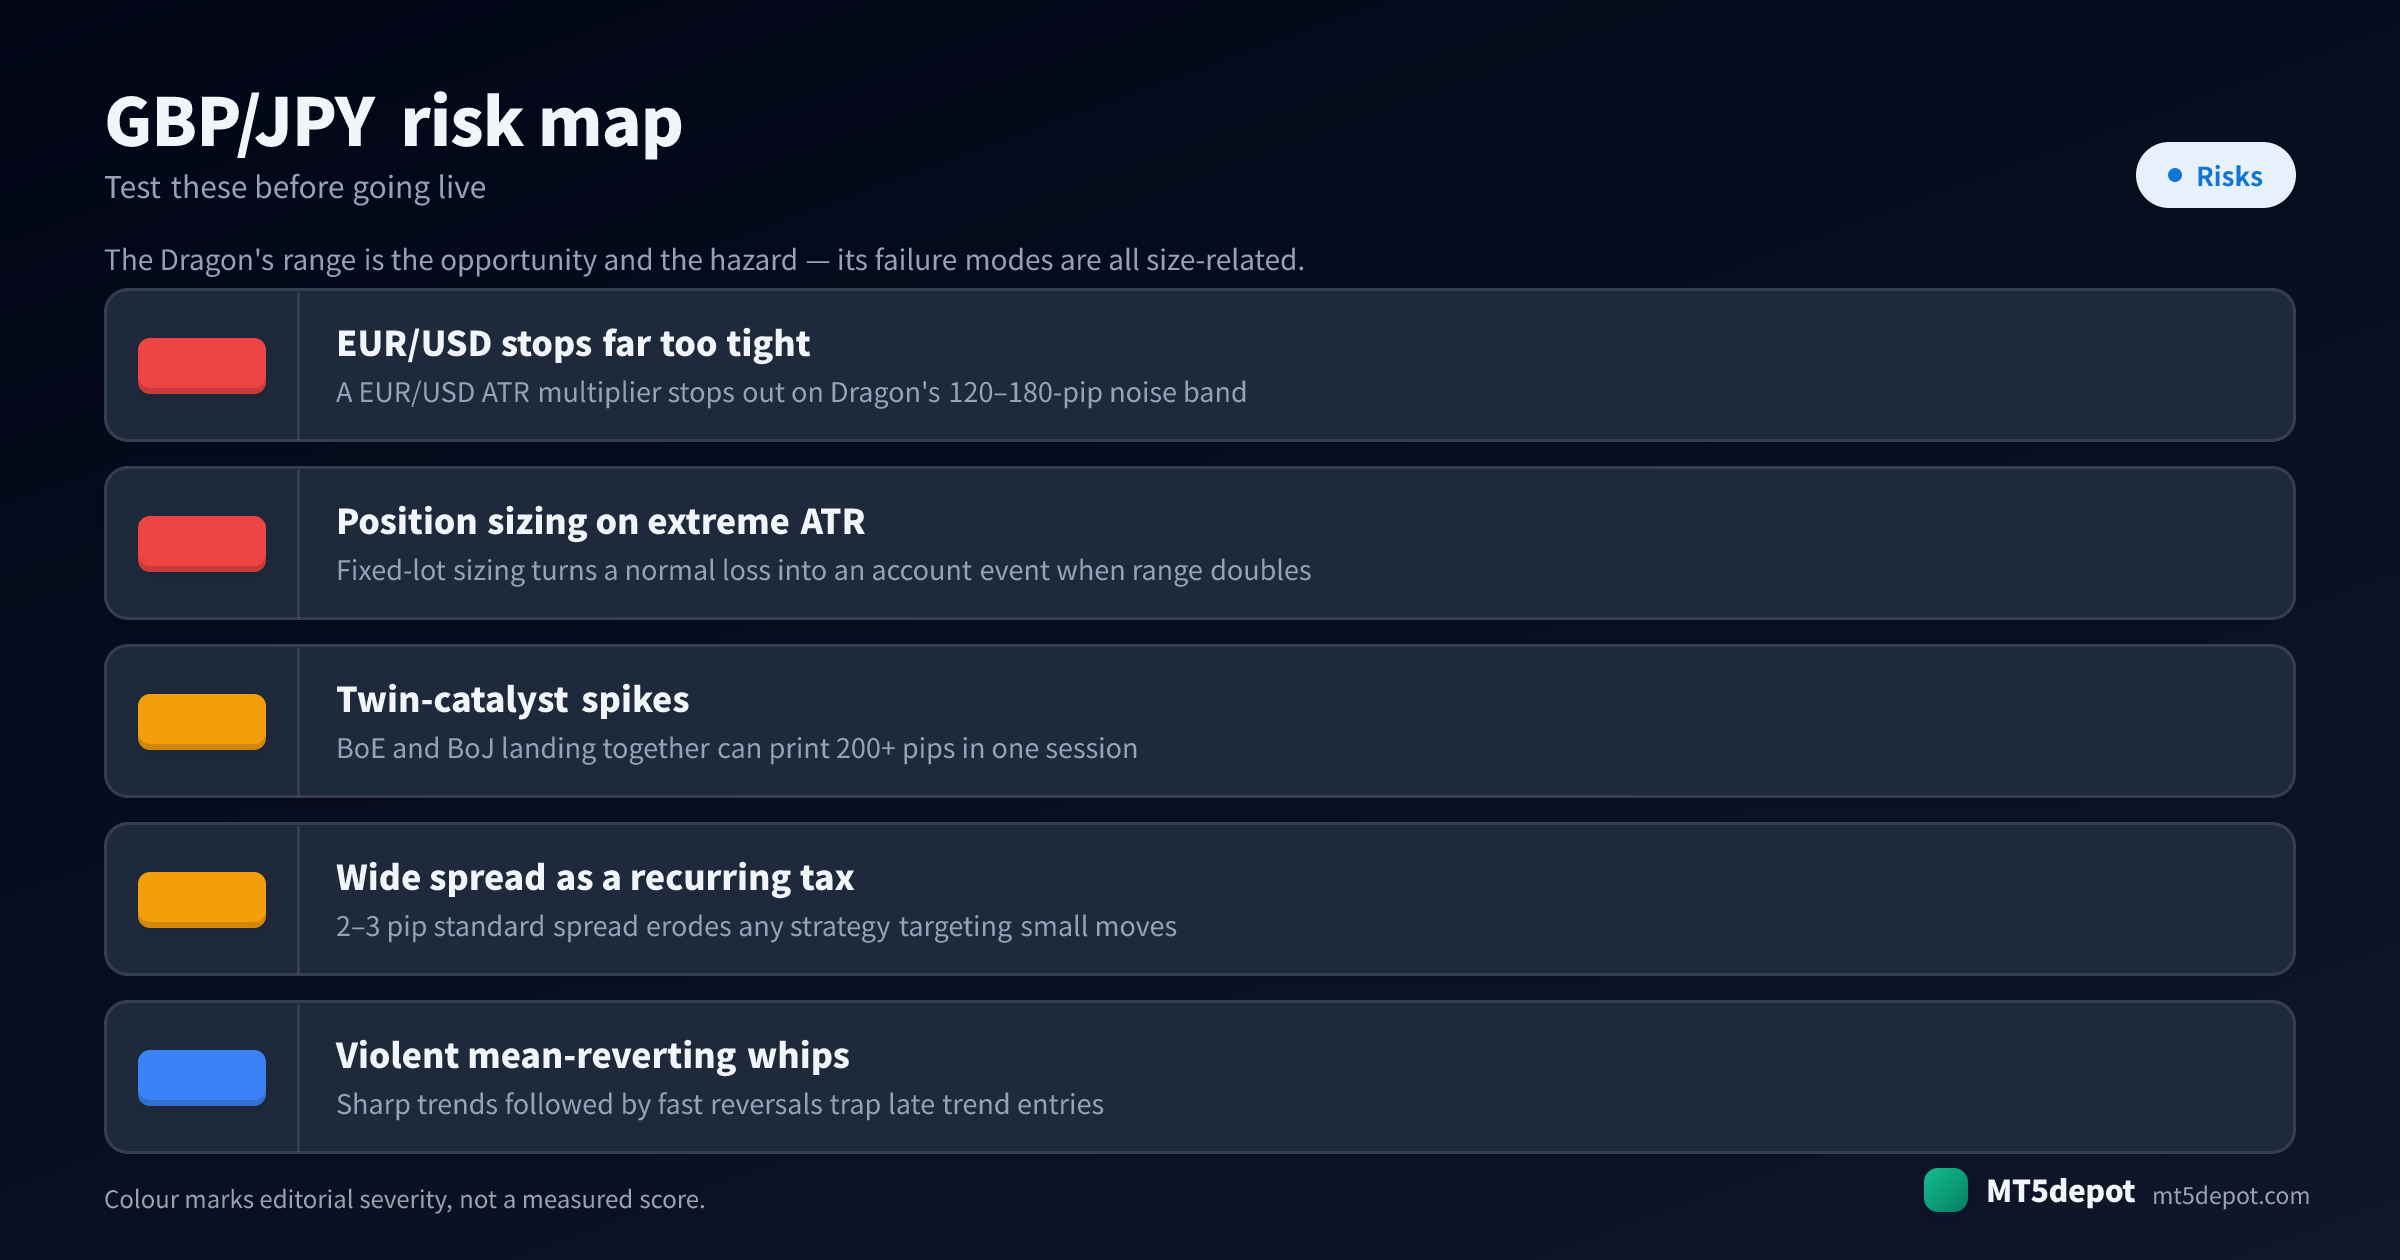
The Dragon’s range is the opportunity and the hazard, and its failure modes are all size-related — specific enough that a generic risk checklist misses them:
- EUR/USD stops are far too tight for Dragon. The most common porting error is copying a EUR/USD ATR multiplier or fixed-pip stop onto GBP/JPY, where the 120–180-pip noise band stops the position out before the thesis has room to work. Re-scale stops and targets to the pair’s own ATR before anything else — this is the single change that most often decides whether a ported strategy survives.
- Fixed-lot sizing on extreme ATR turns a normal loss into an account event. When Dragon’s range doubles on a catalyst, a fixed lot size doubles the money at risk with it. Size the position inversely to ATR so exposure falls as volatility expands, or a routine stop-out during a spike becomes a drawdown the account was never scaled for.
- Twin BoE-plus-BoJ catalysts can print 200+ pips in one session. Because the pair carries two central banks, a UK decision and a Japanese one — or an intervention — can land together and combine. A fast EA needs a news pause across both calendars; a slower one needs stops that survive a large event gap on either leg.
- The wide spread erodes small-target strategies continuously. The 2–3 pip standard spread is not a one-off cost; it is charged on every trade. A strategy that looked marginally profitable on a zero- or default-spread backtest can turn net-negative once the real Dragon spread is applied — which is why the tick-data test below is not optional here.
- Violent mean-reverting whips trap late trend entries. Sharp trends followed by fast reversals are a signature of this pair. A trend EA that enters on late confirmation buys the top of the move and rides the reversal down; an entry filter and a realistic stop matter more on Dragon than on a pair that trends smoothly.
How to Test a GBP/JPY EA
On GBP/JPY, the test is the whole edge. Hold anything you build to the bar set out in the site’s methodology:
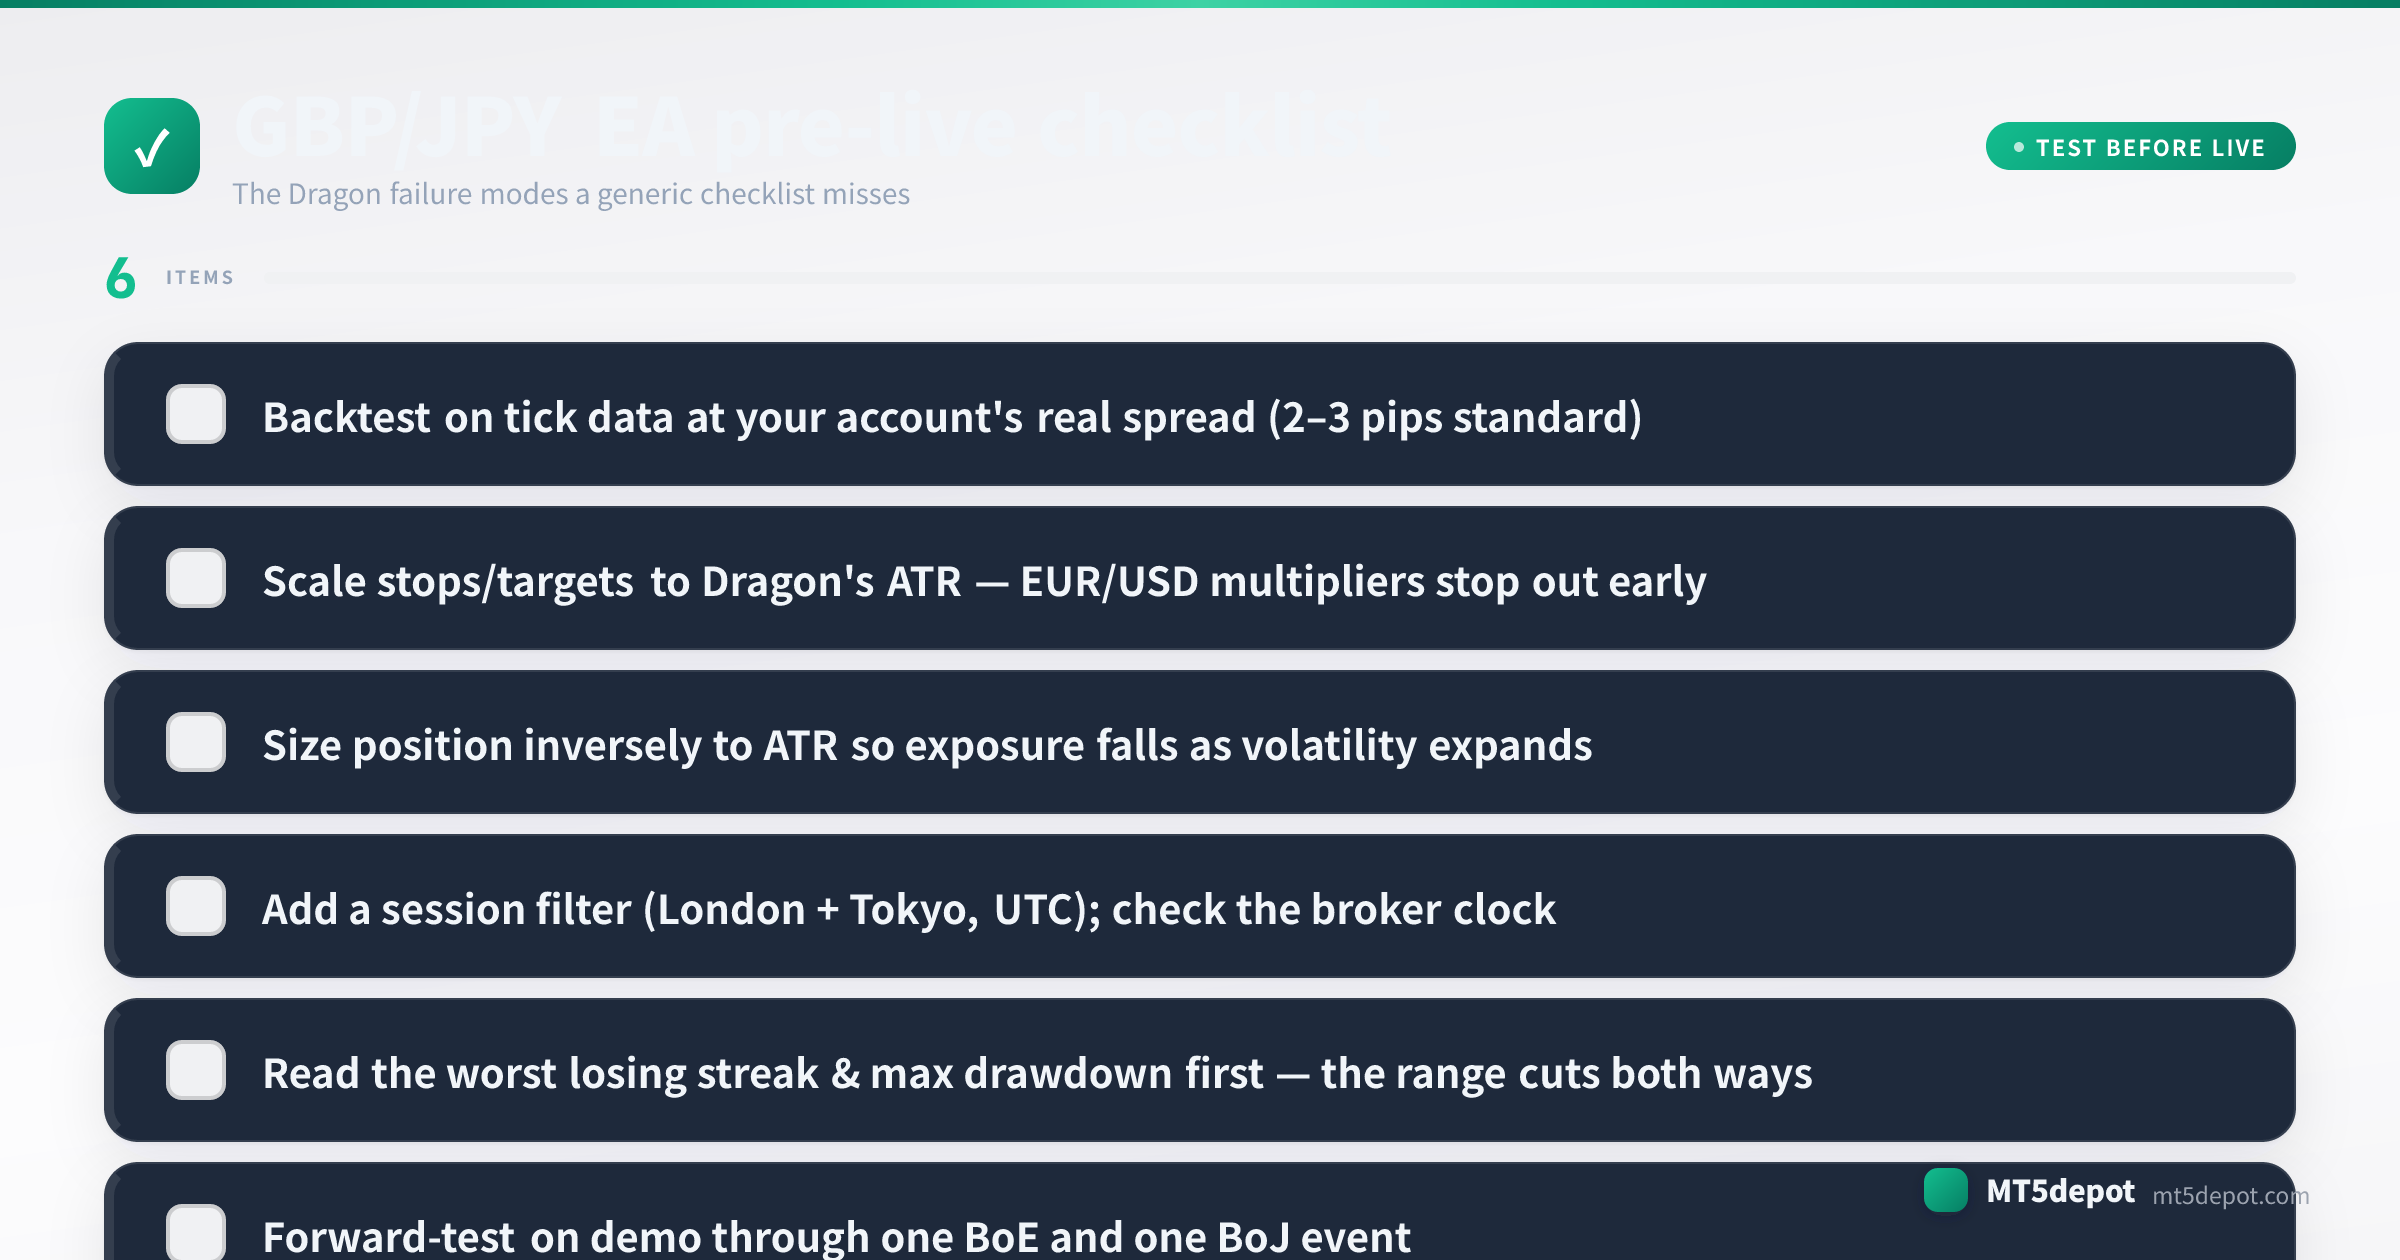
- Backtest on tick data at your account’s real spread. Use an every-tick model with the 2–3 pip standard (or your raw) spread you will actually trade, not the platform default. On a pair this wide, the typical-vs-measured gap is real money — a strategy validated at a spread it will never see is a fiction.
- Scale stops to Dragon’s ATR, then read the worst losing streak. Confirm the stops and targets are sized to this pair’s range, then read the max drawdown and the longest run of losing trades — those tell you the capital and the patience the strategy demands. On the Dragon the range cuts both ways, so budget for the worst streak before you fund it.
- Forward-test on demo through one BoE and one BoJ event. Dragon’s defining risk only shows up around a central-bank decision or an intervention on either leg, so a demo window that never spans one has not tested the thing that matters most. Aim to cross at least one catalyst from each calendar.
- Confirm the server clock before the first live trade. Re-check MT5’s Market Watch time against the UTC session hours above, and re-check it again after any broker migration. That step is easy to skip and expensive to miss when your edge lives inside a two-hour overlap window.
Every backtest number this produces is a historical measurement, not a forecast — say so in your own notes, and size for the drawdown you measured rather than the return you hope for.
GBP/JPY EAs and Builder Templates
We have not published a GBP/JPY backtest of our own, and a result from a European major does not carry over to a pair whose 120–180-pip range needs stops scaled to its own ATR. The honest route to a Dragon EA is to build and verify one:
- The Builder (open it here) accepts GBP/JPY in its trend and breakout templates, so the EA you deploy is built on your own numbers — the CTA below covers exactly what it produces.
- The account that makes the cost work. Because the spread decides so much here, your own account’s contract specification is where you confirm whether a standard or raw account fits the strategy you are building.
- The concept canonicals. If a term above is unfamiliar, the volatility, ATR and swap entries define the mechanics a Dragon EA depends on.